Practising Emergency Stops and Hazard Avoidance: Your Essential Guide to Driving Confidence
Learning how to stop your car quickly and safely might not sound like the most exciting part of driving, but it’s one of the most crucial skills you’ll ever master. Emergency stops and hazard avoidance aren’t just about passing your driving test (though they might come up). They’re about keeping you and everyone else on the road safe when the unexpected happens.
The key to effective emergency stops lies in practising the correct technique until it becomes second nature, so you can react instantly without panic when faced with a real emergency. Whether it’s a child chasing a ball into the road or a lorry suddenly braking ahead, your ability to stop quickly whilst maintaining control could prevent a serious accident.
We’ll walk you through everything you need to know, from understanding the basics of emergency stops to mastering hazard avoidance techniques. You’ll discover common mistakes that catch many learners out, learn how to handle your driving test with confidence, and pick up practical tips for moving off safely after an emergency stop. By the time you’ve finished reading, you’ll feel prepared and confident about tackling these essential driving skills.
Understanding Emergency Stops
An emergency stop is a controlled braking technique that brings your vehicle to a complete halt as quickly and safely as possible. We’ll explore what makes this manoeuvre so important, the situations that call for it, and the real-world scenarios where mastering this skill can make all the difference.
What Is an Emergency Stop?
An emergency stop (also called a controlled stop) is when we bring our car to a complete halt in the shortest distance possible whilst maintaining full control. It’s not just slamming on the brakes. Instead, it’s a skilled technique that combines firm braking, proper steering control, and awareness of our surroundings.
The key word here is controlled. We need to stop quickly without losing command of the vehicle or creating additional hazards for other road users.
During an emergency stop, we apply firm pressure to the brake pedal whilst keeping both hands on the steering wheel. In manual cars, we also need to depress the clutch as our speed drops to prevent stalling.
Mirror checks are crucial before and after stopping. This ensures we’re aware of what’s happening around us and haven’t created a dangerous situation for vehicles behind.
The whole manoeuvre requires us to stay calm under pressure. Panic can lead to oversteering, harsh braking, or forgetting essential safety checks.
When an Emergency Stop Is Needed
We might need to perform an emergency stop when an unexpected hazard appears suddenly and we can’t avoid it by steering around it. These situations require split-second decisions and immediate action.
Immediate hazards that call for emergency stops include:
- A pedestrian stepping into the road without warning
- Another vehicle pulling out directly in front of us
- A child or animal running into our path
- Debris falling from another vehicle
Sometimes the road layout makes steering around a hazard impossible. Narrow streets, heavy traffic, or obstacles on both sides can force us to stop rather than swerve.
Weather conditions can also create emergency stop situations. Ice patches, flooding, or sudden loss of visibility might require us to halt immediately rather than continue driving.
The golden rule is simple: if we can’t safely steer around a hazard, we need to stop as quickly and safely as possible.
Common Scenarios and Real-Life Examples
Let’s look at specific situations where emergency stops save lives and prevent accidents. Understanding these scenarios helps us recognise when this technique is our best option.
Urban driving scenarios are particularly common. Picture this: you’re driving through a busy shopping area when someone steps out from between parked cars. There’s traffic in the next lane, so swerving isn’t safe. An emergency stop is your only choice.
School zones present another frequent challenge. Children can be unpredictable, and their small size makes them harder to spot. When a football rolls into the road followed by a young child, we need to react instantly.
Motorway situations might involve vehicles breaking down suddenly ahead of us or debris falling from lorries. At higher speeds, the stopping distance increases dramatically, making quick reactions even more critical.
Rural roads have their own risks. Farm animals, cyclists appearing around blind bends, or tractors entering the carriageway can all require emergency stops. The lack of street lighting makes these situations even more challenging at night.
Each scenario teaches us that emergency stops aren’t just about the driving test. They’re real skills that protect lives every single day on our roads.
How to Perform an Emergency Stop Safely

Learning how to execute a proper emergency stop means mastering the correct sequence of actions while understanding the differences between manual and automatic vehicles. We’ll also explore how modern braking systems work and share proven techniques for maintaining control when you need to stop quickly.
Step-by-Step Technique for Emergency Stops
When we need to stop suddenly, our reaction matters more than we might think. The moment you recognise a hazard, keep both hands firmly planted on the steering wheel at the ten and two positions.
For manual cars with ABS:
- Press the brake pedal down hard and fast
- Push the clutch pedal fully to the floor at the same time
- Keep steering straight and maintain your grip
- Once stopped, apply the handbrake immediately
The key here is acting decisively. Don’t ease into the brakes like you normally would. We want maximum stopping power whilst maintaining complete control of the vehicle.
For older cars without ABS:
Wait until the very last moment before stopping to press the clutch. This prevents coasting, which reduces your control over the car.
If you feel the wheels starting to lock up, try cadence braking. This means pumping the brake pedal quickly rather than holding it down. Think of it as giving short, firm pulses to prevent the tyres from sliding.
Remember to stay calm throughout the process. Panic leads to mistakes, and mistakes can be dangerous.
Manual vs. Automatic Cars: Key Differences
The biggest difference lies in what your left foot needs to do. In a manual car, you’ll press both the brake and clutch pedals. In an automatic, you only need to worry about the brake.
Manual transmission steps:
- Brake pedal with right foot (firm pressure)
- Clutch pedal with left foot (fully depressed)
- Both pedals pressed simultaneously
Automatic transmission steps:
- Brake pedal with right foot only
- Apply steady, firm pressure
- The car handles gear changes automatically
Automatic cars actually make emergency stops simpler because you can focus entirely on braking and steering. There’s no risk of stalling the engine or forgetting to press the clutch.
However, manual drivers shouldn’t feel disadvantaged. With proper practice, pressing both pedals becomes second nature. Many driving instructors actually prefer teaching emergency stops in manual cars because it builds better overall vehicle control skills.
The handbrake application remains the same for both types. Once you’ve stopped completely, pull it up firmly to secure the vehicle.
Anti-Lock Braking System (ABS) Guidance
Most modern cars come equipped with ABS, and this technology changes how we approach emergency stopping. The system prevents your wheels from locking up by rapidly pulsing the brakes for you.
When ABS activates, you’ll feel the brake pedal vibrating or pulsing under your foot. This is completely normal and means the system is working properly. Don’t lift off the brake pedal when this happens.
With ABS, we can:
- Apply maximum brake pressure immediately
- Maintain steering control throughout the stop
- Trust the system to prevent wheel lock-up
The beauty of ABS lies in its ability to let you steer around obstacles whilst braking hard. Without it, locked wheels would make steering nearly impossible.
You might hear grinding or clicking noises when ABS engages. Again, this is normal operation, not a fault with your car.
If your vehicle doesn’t have ABS, you become the anti-lock system. This means modulating brake pressure yourself to prevent skidding. It requires more skill and practice, but it’s absolutely achievable with proper training.
Avoiding Skids and Maintaining Control
Skidding happens when your tyres lose grip with the road surface. Prevention starts long before you need to make an emergency stop.
Prevention techniques:
- Maintain proper tyre pressure and tread depth
- Adjust speed for weather conditions
- Increase following distances in wet or icy conditions
- Keep both hands on the steering wheel
If you start to skid during an emergency stop, don’t panic. Look where you want the car to go, not where it’s sliding. Your hands will naturally steer towards where your eyes are focused.
For cars without ABS, ease off the brake pressure slightly if you feel the wheels locking. Then reapply pressure more gradually. This gives your tyres a chance to regain grip with the road.
Weather conditions dramatically affect stopping distances. Rain, ice, or even autumn leaves can make roads treacherous. In these conditions, we need to be extra gentle with our inputs whilst still being decisive.
The most important thing is staying relaxed. Tense muscles lead to jerky movements, which can upset the car’s balance. Breathe steadily and trust your training.
Emergency Stops in the Driving Test
The emergency stop remains one of the most nerve-wracking parts of the practical driving test, appearing in roughly one in seven tests. Understanding what your examiner expects, how they’ll mark your performance, and practical ways to stay composed will help you approach this manoeuvre with confidence rather than dread.
What to Expect from the Examiner
Your driving test examiner won’t spring the emergency stop on you without warning. They’ll give you clear instructions before asking you to perform this manoeuvre.
The examiner will tell you: “Shortly I shall ask you to carry out an emergency stop. When I give this signal (raising hand), I’d like you to stop as quickly and as safely as possible.”
During the actual test, they’ll raise their hand and say “Stop!” in a clear, firm voice. You won’t need to guess or anticipate when this might happen.
We want you to know that examiners understand this can feel stressful. They’re not trying to catch you out or make you panic. The signal will be obvious and unmistakable.
The examiner might ask you to pull over after the stop to discuss what happened or simply continue with the test. Don’t worry if they don’t immediately praise your performance, as examiners typically keep their feedback neutral during the test.
Remember, you won’t be asked to perform an emergency stop if there’s traffic close behind you. Your examiner prioritises safety above all else and will only request this manoeuvre when it’s genuinely safe to do so.
How the Manoeuvre Is Assessed
Your examiner assesses much more than just your ability to stop quickly. They’re looking for a controlled stop that demonstrates both skill and safety awareness.
Key assessment areas include:
- Reaction time: How quickly you respond to the signal
- Vehicle control: Keeping the car straight and avoiding harsh, jerky braking
- Observation: Checking mirrors before and after stopping
- Clutch control: Preventing stalls in manual vehicles
The examiner distinguishes between minor and serious faults. A slightly uneven stop might earn a minor fault, but failing to check your mirrors or swerving dangerously would result in a serious fault and test failure.
What impresses examiners most is smooth, progressive braking combined with excellent observation skills. They want to see you remain calm and in complete control throughout the manoeuvre.
Your examiner will note whether you maintain proper steering wheel position and avoid any sudden movements that could destabilise the vehicle. In cars without ABS, they’ll particularly watch for signs that you understand how to brake firmly without locking the wheels.
Test Day Tips for Staying Calm
Nerves can turn a straightforward emergency stop into a fumbled mess, but we’ve got practical strategies to help you stay composed when it matters most.
Before the test starts, take several deep breaths and remind yourself that you’ve practised this manoeuvre countless times with your instructor. Your muscle memory will kick in when you need it.
During the test, keep your hands positioned correctly on the steering wheel (10 and 2 or 9 and 3 position). This simple habit helps you feel more in control and react more smoothly.
If you feel anxiety building, focus on the examiner’s clear instructions rather than worrying about what might go wrong. The signal will be obvious, so trust that you’ll recognise it easily.
After receiving the stop signal, don’t rush or panic. You have enough time to brake safely and effectively. Progressive braking feels much better than slamming on the brakes and potentially losing control.
Remember to breathe throughout the manoeuvre. Many learners hold their breath during stressful moments, which only increases tension and affects their performance.
Finally, if you make a small mistake, don’t let it ruin the rest of your test. Stay focused on what’s coming next rather than dwelling on what’s already happened.
Practising Hazard Avoidance
Learning to spot dangers early and react quickly can make all the difference between a close call and a serious accident. These skills work hand in hand with emergency stops to keep you safe on the road.
Spotting and Reacting to Hazards
We need to train our eyes to pick up warning signs before they become emergencies. This means looking beyond the car directly in front of us.
Watch for these common hazards:
- Children playing near the roadside
- Dogs off their leads
- Parked cars with doors that might open
- Vehicles pulling out from side roads
- Pedestrians stepping into the road without looking
The key is scanning constantly. We should be checking mirrors every 8-10 seconds and looking ahead at least 12 seconds down the road.
When we spot a potential danger, we have three main options. We can steer around it, slow down, or perform an emergency stop. The choice depends on what’s happening around us.
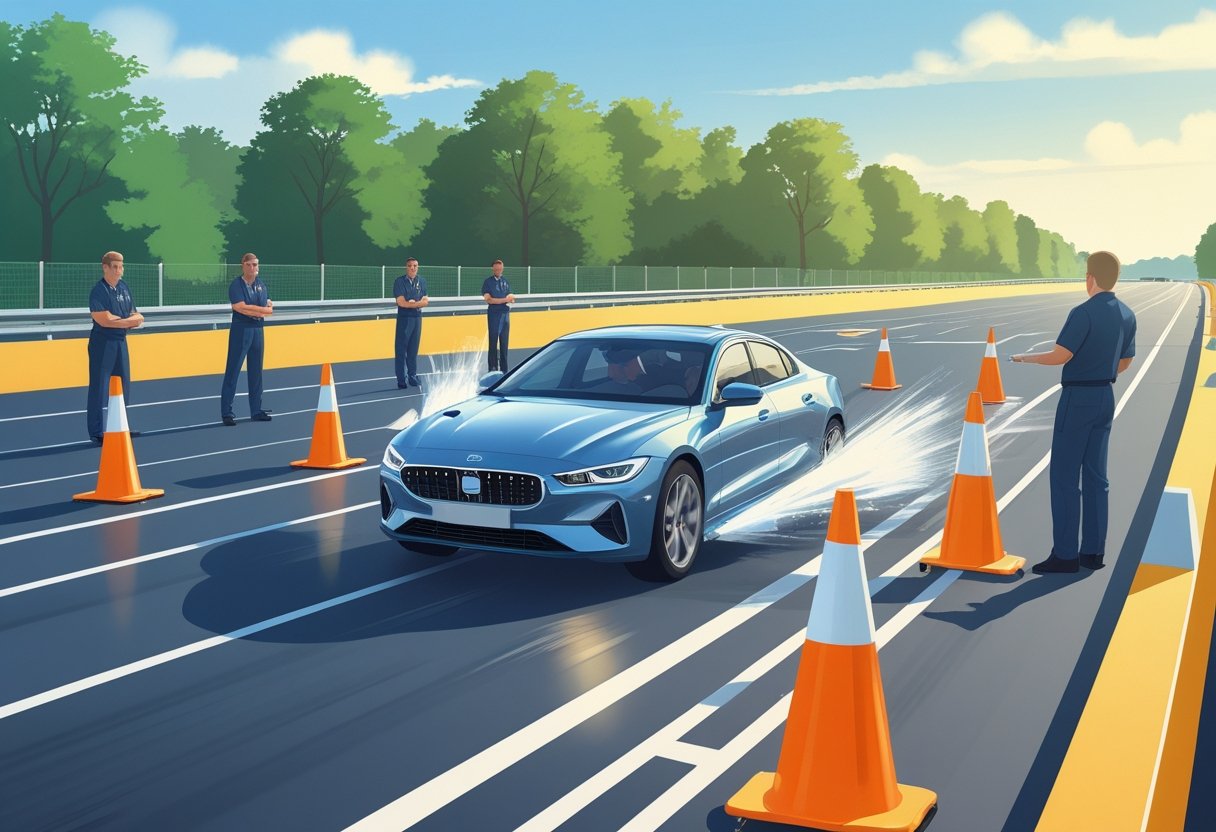
Practice makes these decisions automatic. Try setting up cones in a car park and practice swerving around them at different speeds. This builds muscle memory for real situations.
Remember that stopping distances increase dramatically with speed. At 30mph, we need about 75 feet to stop completely. That’s why early detection matters so much.
Effective Observation and Awareness Techniques
Good observation starts with positioning ourselves to see clearly. We should sit up straight and adjust mirrors properly before every journey.
The “commentary driving” technique works brilliantly for building awareness. We simply talk through what we’re seeing as we drive. For example: “pedestrian on the left pavement, slowing down approaching the junction, checking mirrors.”
Use the MSPSL routine:
- Mirrors (check what’s behind)
- Signal (if changing direction)
- Position (move to the safest spot)
- Speed (adjust for the situation)
- Look (final checks before proceeding)
We should also learn to read body language. A pedestrian looking at their phone might step out unexpectedly. A cyclist wobbling might swerve into our path.
Night driving requires extra care. Our vision drops significantly in low light. We need to reduce speed and increase following distances to compensate.
Weather conditions change everything too. Wet roads can double our stopping distances, so we must spot hazards even earlier when it’s raining.
Common Mistakes and How to Overcome Them
Many learner drivers struggle with emergency stops due to predictable errors that stem from nerves and lack of practice. We’ll explore the most frequent mistakes that catch drivers off guard and share proven techniques to build your confidence through targeted practice sessions.
Frequent Errors During Emergency Stops
Steering problems top our list of common mistakes. When panic sets in, many learners grip the wheel too tightly or make sudden steering corrections. This causes the car to swerve dangerously instead of stopping in a straight line.
Keep your hands in the 9 and 3 position throughout the manoeuvre. Trust your initial steering position rather than making last-minute adjustments.
Mirror neglect creates serious safety issues. We see countless learners forget to check their mirrors before and after stopping. This oversight shows examiners you’re not aware of traffic behind you.
Make mirror checks part of your routine practice. Before any emergency stop, glance in your rear-view mirror. After stopping completely, check again to assess following traffic.
Clutch coordination troubles plague manual car drivers specifically. Many learners either forget to press the clutch or depress it too early, causing the engine to stall or interfering with effective braking.
The timing matters enormously. Apply your brakes first, then press the clutch as your speed drops to prevent stalling.
Braking technique errors range from being too gentle to stomping too hard. Light braking won’t impress examiners, whilst harsh braking can cause skidding in non-ABS vehicles.
Practice progressive braking – start with firm pressure and increase gradually. This technique works whether your car has ABS or not.
Building Confidence Through Practice
Regular practice sessions transform your emergency stop from a nerve-wracking ordeal into second nature. We recommend practising at least twice per driving lesson, not just when your instructor suggests it.
Find a quiet car park or empty road where you can safely repeat the manoeuvre. Start slowly and build up your confidence with each attempt.
Mental preparation proves just as important as physical practice. Many learners become anxious about when the examiner might call for an emergency stop, which actually makes their performance worse.
Accept that you might face this test element. Knowing you’re prepared removes the fear factor and helps you stay calm during your actual test.
Moving off practice after emergency stops deserves special attention. Once you’ve stopped, you need to safely rejoin traffic flow. This means checking mirrors again, signalling if necessary, and moving off smoothly.
Practice the complete sequence: emergency stop, secure the vehicle, observe all around, then move off when it’s safe. This comprehensive approach mirrors real-world driving situations.
Simulated pressure training helps enormously. Ask your instructor or supervising driver to call emergency stops at unexpected moments during normal driving practice.
This unpredictability mimics test conditions perfectly. You’ll develop quicker reaction times and learn to stay composed under pressure.
Moving Off Safely after an Emergency Stop
Getting back into traffic after an emergency stop requires careful observation and controlled actions. Your priority is confirming the road is clear and executing a smooth, confident start that won’t catch other drivers off guard.
Checks Before Rejoining Traffic
After bringing your car to a complete stop, we need to assess the situation thoroughly before moving off again. This isn’t the time to rush back into traffic.
Start by checking your mirrors systematically. Look in your rear-view mirror first to see if any vehicles have stopped behind you. Many drivers might not have expected your sudden stop, so they could be closer than usual.
Next, check both wing mirrors to get a complete picture of traffic around you. Pay special attention to cyclists or motorcyclists who might have moved up alongside your vehicle whilst you were stopped.
Now turn your head to check your blind spots. This physical movement gives you the clearest view of areas your mirrors can’t cover. Look over both shoulders, especially the side you’ll be steering towards as you move off.
Before touching the accelerator, scan the road ahead to ensure the hazard that caused your emergency stop has cleared. If it was a pedestrian, make sure they’ve reached safety. If debris was blocking your path, confirm it’s been removed or you have space to navigate around it safely.
Building Safe and Smooth Starts
Moving off after an emergency stop requires a gentle, controlled approach that signals your intentions clearly to other road users. We want to avoid any jerky movements that might startle nearby drivers.
If you applied the handbrake during your emergency stop, prepare it for release but don’t disengage it just yet. Keep your foot firmly on the footbrake whilst you prepare your controls.
Find your biting point with the clutch and give the engine slightly more revs than you’d normally use for a standard hill start. This extra power helps ensure a confident move-off, especially if you’re on an incline.
Signal your intentions if you need to pull out around an obstacle or rejoin a different lane. Other drivers need to understand what you’re planning to do.
Release the handbrake smoothly as you feel the car wanting to move forward. Let the clutch up gradually whilst maintaining steady pressure on the accelerator. The key is creating momentum without sudden acceleration.
Once you’re moving, build up speed progressively rather than trying to match traffic speed immediately. Other drivers will typically give you space after witnessing your emergency stop, so use this courtesy to rejoin the flow of traffic safely.
Frequently Asked Questions
Emergency stops can feel daunting, but mastering proper technique and staying calm makes all the difference. These common concerns cover everything from maintaining control during sudden braking to building confidence through regular practice.
What are the top tips for executing a smooth emergency stop?
Keep both hands firmly gripped on the steering wheel throughout the entire manoeuvre. This gives you maximum control if the car starts to move unexpectedly.
Press the brake pedal with firm, steady pressure rather than slamming it down. Smooth, controlled pressure works better than panicked jabbing movements.
If your car has ABS, press the clutch and brake pedals at the same time. For older cars without ABS, brake first and press the clutch just before stopping completely.
React quickly but don’t rush the safety checks afterwards. Take a moment to engage the handbrake and put the car in neutral before looking around.
Check all your mirrors and blind spots before moving off again. Other drivers might not expect your sudden stop, so make sure the road is clear.
How can I remain calm and in control during unexpected road hazards?
Take deep breaths and keep your shoulders relaxed whilst driving. Tension actually slows down your reaction times when you need them most.
Scan the road constantly rather than staring straight ahead. Moving your eyes regularly helps you spot potential dangers earlier.
Practice the emergency stop technique regularly so it becomes second nature. When you know exactly what to do, panic is less likely to take over.
Trust your training and the safety features in your car. Modern vehicles with ABS make emergency stops much more manageable than older cars.
Remember that making mistakes during practice is completely normal. Every experienced driver has stalled or felt flustered during emergency stops whilst learning.
What’s the best way to practise hazard perception and reaction while driving?
Start by using online hazard perception tests to sharpen your observation skills. These simulate real driving scenarios from the comfort of your home.
Ask your driving instructor to point out potential hazards during lessons. They’ll help you recognise situations you might have missed on your own.
Practice the “commentary drive” technique where you speak aloud about what you see. Describe pedestrians, cyclists, and other vehicles as you spot them.
Focus on areas where hazards commonly appear. Junctions, school zones, and residential areas need extra attention and slower speeds.
Develop the habit of asking “what if” whilst driving. What if that child runs into the road? What if that car pulls out suddenly?
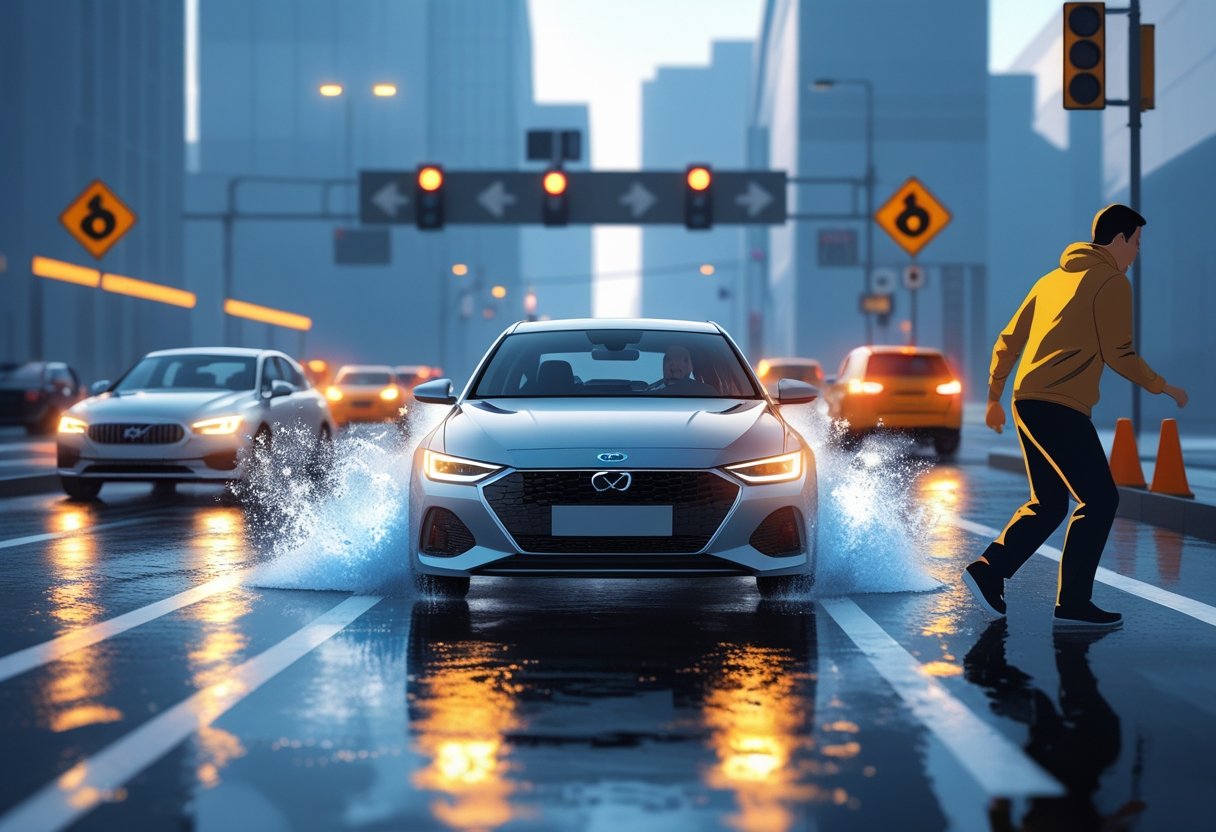
Could you guide me through the process of an emergency stop in wet weather conditions?
Allow much longer stopping distances in wet conditions. Your tyres have less grip on wet roads, so you’ll slide further before stopping.
Apply the brakes more gently than you would on dry roads. Sudden, harsh braking on wet surfaces often causes dangerous skidding.
Keep your movements smooth and gradual. Sharp steering inputs combined with wet roads can send your car sliding sideways.
If you feel the car starting to skid, ease off the brake pedal slightly. Let the tyres regain their grip before reapplying pressure.
Check your tyre tread depth regularly, especially before wet weather. Worn tyres perform terribly in rain and increase your stopping distance significantly.
Consider postponing driving lessons during heavy rain or ice. Learning emergency stops in extreme conditions adds unnecessary risk and stress.
How often should I rehearse emergency braking to feel confident in a real situation?
Practice emergency stops during every few driving lessons, not just once. Regular repetition builds the muscle memory you need in real emergencies.
Limit yourself to three emergency stops per practice session. Your brakes can overheat if you do too many in succession, making them less effective.
Space out your practice sessions rather than cramming them all into one lesson. Little and often works better for building lasting confidence.
Continue practising even after you pass your driving test. Experienced drivers benefit from refreshing their emergency stop technique occasionally.
Ask your instructor to vary the practice locations. Different road surfaces and conditions help you understand how your car responds in various situations.
Can you suggest any exercises to enhance my reaction times for better hazard avoidance?
Play video games that require quick reactions and decision-making. Racing games and action games can genuinely improve your response times.
Practice the “mirror, signal, manoeuvre” routine until it becomes automatic. The faster you can complete safety checks, the more time you have for hazard avoidance.
Try reaction time apps on your phone during breaks from driving practice. These simple exercises help train your brain to respond more quickly.
Get plenty of sleep before driving lessons and tests. Tiredness dramatically slows down your reaction times and decision-making abilities.
Reduce distractions in the car such as loud music or chatty passengers. A quieter environment helps you focus on potential hazards around you.
Stay physically active outside of driving. Regular exercise improves overall coordination and reaction speeds that transfer to driving skills.
Ready to Book Driving Lessons?
LPOD Academy offers intensive driving courses across the UK. Find your nearest location: