What to Expect on Your First Driving Lesson: Honest Guidance for Beginners
Your very first driving lesson marks the beginning of an incredible journey towards independence and freedom. Most people feel a mix of excitement and nerves before sitting behind the wheel, which is completely normal and shows you’re taking this responsibility seriously.
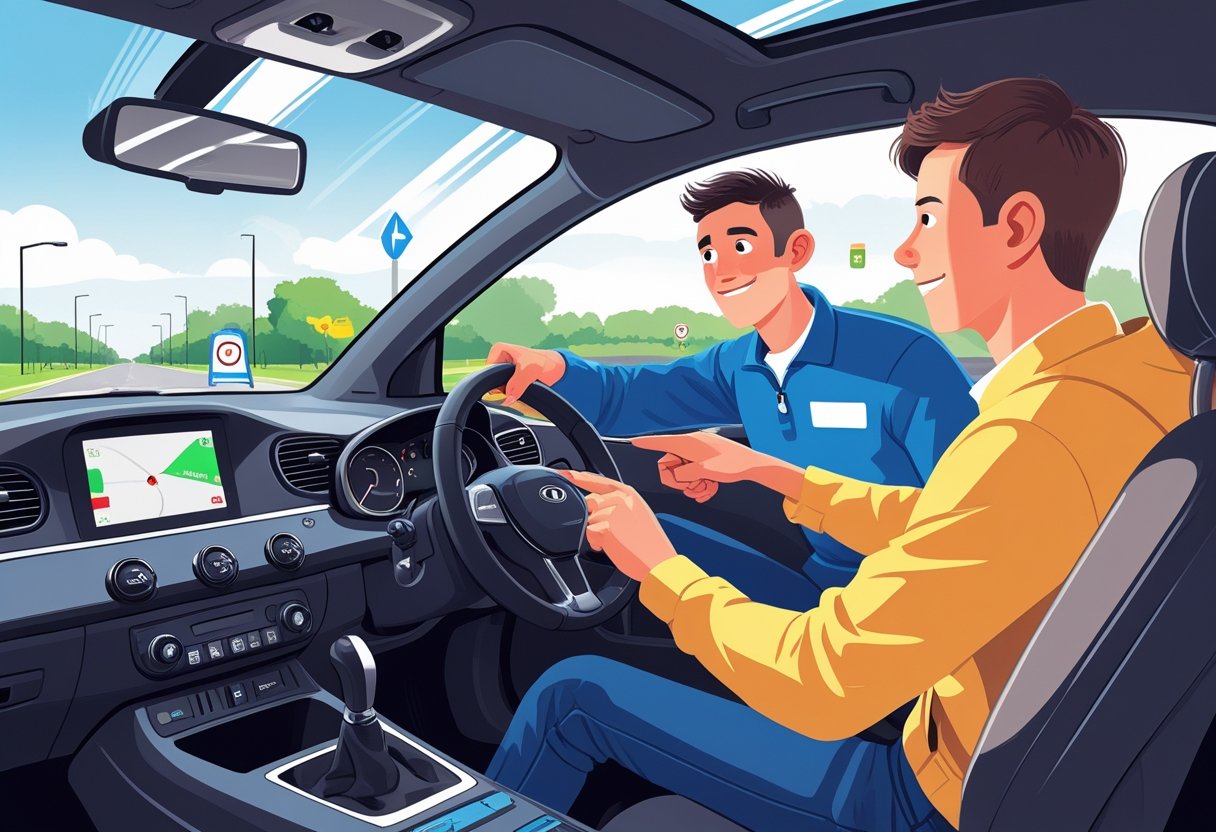
During your first lesson, you won’t jump straight into driving but will spend time learning essential car controls, safety checks, and basic manoeuvres in a quiet area away from traffic. Your instructor understands this is new territory for you and will guide you through each step at a comfortable pace.
The beauty of that first lesson lies in building your confidence gradually. You’ll discover that driving isn’t as overwhelming as it might seem, and by the end of the session, you’ll likely feel proud of what you’ve accomplished and eager for your next lesson.
Key Takeaways
- Bring your provisional licence and wear comfortable, practical clothing and footwear for your lesson
- Your instructor will teach you safety checks and car controls before you actually start driving
- Building confidence happens gradually through practice, so don’t worry about making mistakes during your learning journey
The Essentials: What To Bring And Do Before Your First Lesson
Getting ready for your first driving lesson means gathering the right documents, choosing appropriate clothing (especially comfortable shoes), and preparing yourself mentally. These simple preparations will help you feel confident and ready to learn.
Provisional Driving Licence And Important Documents
Your provisional driving licence is absolutely essential for your first lesson. You cannot legally get behind the wheel without it, so double-check you have it with you before your instructor arrives.
We recommend keeping your licence in a safe place the night before. Put it somewhere obvious like on your kitchen counter or by your front door.
What to bring:
- Provisional driving licence (physical card)
- Booking confirmation email or text
- Glasses or contact lenses if you need them for driving
- Any medical documents if you declared conditions on your application
Your instructor might ask for a DVLA check code. You can get this from the government’s view driving licence website if needed.
Some instructors prefer to see the actual licence card rather than a photo on your phone. Always bring the physical document to avoid any delays starting your lesson.
Dressing For Success: Footwear And Clothing
What you wear can make a huge difference to how comfortable and confident you feel during your lesson. The key is choosing clothes that let you move freely and shoes that help you control the car properly.
Ideal footwear:
- Comfortable shoes with thin, flat soles
- Trainers or driving shoes work perfectly
- Avoid high heels, flip-flops, or thick-soled boots
Clothing tips:
- Wear something loose enough to turn your head and shoulders easily
- Avoid bulky coats or jackets that restrict arm movement
- Choose clothes you feel relaxed in
Think about the weather too. If it’s sunny, bring sunglasses. Your instructor wants you to see clearly and feel comfortable throughout the lesson.
Rest, Mindset, And Managing Nerves
A good night’s sleep makes an enormous difference to how well you’ll learn and remember new skills. Aim for at least seven hours the night before your lesson.
Eat a proper breakfast but avoid anything too heavy that might make you feel sluggish. Stay hydrated but don’t drink too much liquid right before your lesson.
Mental preparation tips:
- Remember that everyone feels nervous before their first lesson
- Your instructor expects you to be a complete beginner
- Mistakes are part of learning and completely normal
- The instructor has dual controls for safety
We find that learners who arrive feeling positive and well-rested pick things up much faster. Take some deep breaths and remind yourself that this is an exciting step towards independence.
Meeting Your Driving Instructor And Setting Expectations
The first moments with your driving instructor set the tone for your entire learning journey. You’ll have time to get acquainted, share your concerns, and establish a comfortable foundation before stepping into the car.
Getting To Know Your Instructor
When your driving instructor arrives, they’ll introduce themselves properly and spend a few minutes helping you feel at ease. This isn’t just small talk – it’s an important part of building trust between you both.
Your instructor will check your provisional driving licence to make sure everything’s in order. They might also explain a bit about their experience and teaching approach. Some instructors like to share how long they’ve been teaching or mention their pass rates.
What to expect during introductions:
- Friendly conversation to help you relax
- Brief explanation of their teaching style
- Discussion about lesson structure and timing
- Quick review of your documents
Most driving instructors understand that learning to drive can feel overwhelming at first. The good ones will take time to make you feel welcome and answer any immediate questions you have about the lesson ahead.
Discussing Experience, Questions, And Nerves
Your instructor will ask about your previous experience behind the wheel. Don’t worry if you’ve never driven before – that’s completely normal and expected.
They might ask questions like:
- Have you had any practice with family or friends?
- How confident do you feel about starting lessons?
- Are there particular aspects of driving that worry you?
- Do you know much about the Highway Code?
Be honest about your nerves. Every good instructor has worked with anxious learners before. Sharing your concerns helps them tailor the lesson to your needs and go at a pace that works for you.
This conversation helps your driving instructor understand where to start and what areas need extra attention. Some learners worry about stalling, others about other traffic. Whatever concerns you have, now’s the time to mention them.
Remember, your instructor wants you to succeed just as much as you do.
Getting Started: The Cockpit Drill And Settling Into The Car
Your instructor will teach you the DSSSM routine to set up the car properly for your size and comfort. We’ll show you how to check your blind spots and adjust everything so you feel confident behind the wheel.
DSSSM Routine: Doors, Seat, Steering, Seatbelt, Mirrors
The cockpit drill follows a simple pattern we call DSSSM. This stands for Doors, Seat, Steering, Seatbelt, and Mirrors.
Doors come first. Give your door a firm pull to close it properly. Then tug the handle again to make sure it’s secure.
Seat adjustment is crucial for comfort and safety. Move your seat forward or back until you can press the pedals fully whilst keeping a slight bend in your knee. Adjust the height so you have a clear view of the road ahead.
Steering position matters too. Place both hands at the top of the steering wheel with your back against the seat. You should have a slight bend in your elbows without stretching.
Your seatbelt must sit flat against your body without any twists. Make sure it’s snug but comfortable across your chest and lap.
Mirrors get adjusted last. Set your rear-view mirror so you see as much of the back window as possible with minimal car interior showing.
Checking Blind Spots And Adjusting For Safety
Checking mirrors properly helps eliminate dangerous blind spots around your vehicle. We’ll teach you to see only a tiny sliver of your own car in each wing mirror.
Position your side mirrors so you can see as far up the road as possible. The mirrors should show mainly the road behind you, not the side of your car.
Your instructor will show you how to do shoulder checks for areas the mirrors can’t cover. These physical checks catch cyclists, pedestrians, or other vehicles in your blind spots.
Practice adjusting mirrors from your normal driving position. Don’t lean forward when setting them up, as this creates the wrong angle when you sit back normally.
Mastering The Basics: Understanding Car Controls
Learning the essential car controls is your foundation for safe driving. You’ll start with the foot pedals that control speed and movement, then progress to important features like indicators, handbrake, and windscreen wipers.
Foot Pedals: Accelerator, Brake, And Clutch
The foot pedals are where everything begins. In a manual car, you’ll find three pedals arranged from right to left: accelerator, brake, and clutch.
Your right foot controls both the accelerator and brake pedal. The accelerator sits on the far right and increases engine power when pressed gently. The brake pedal, positioned in the middle, brings the car to a stop.
The clutch pedal lives on the left and only your left foot should touch it. This pedal disconnects the engine from the wheels, allowing you to change gears smoothly.
Finding the clutch’s “biting point” is crucial for moving off without stalling. This happens when you slowly lift the clutch and feel the car wanting to move forward.
We always teach our learners to practice gentle pressure on these pedals. Heavy feet lead to jerky movements and uncomfortable rides.
In automatic cars, you’ll only have two pedals: accelerator and brake. This makes learning easier since there’s no clutch control to master.
Indicators, Handbrake, And Windscreen Wipers
These basic car controls keep you safe and communicate with other road users effectively.
Indicators sit on a stalk beside the steering wheel. Push down for left turns, up for right turns. They’ll usually cancel automatically after turning, but always check they’ve switched off.
The handbrake secures your car when parked and helps with hill starts. Modern cars often have electronic handbrakes operated by a button, whilst older vehicles use a traditional lever between the seats.
Windscreen wipers clear rain and debris from your view. The control stalk typically offers different speeds: intermittent, slow, and fast. You’ll also find washer fluid controls here for cleaning stubborn marks.
Your instructor will show you where each control sits in your specific car. Every vehicle arranges these features slightly differently, but the basic functions remain the same.
We recommend familiarising yourself with these controls before moving off. Knowing their exact positions means you won’t need to hunt around whilst driving.
Your First Drive: From Starting The Engine To Moving Off And Stopping
We’ll guide you through the three fundamental skills that form the backbone of your first driving lesson: starting the engine properly, moving off with confidence, and bringing the car to a controlled stop. These core techniques will become second nature with practice, setting you up brilliantly for everything that follows.
Starting The Engine With Confidence
Your instructor will talk you through each step before you touch anything. Don’t worry if it feels overwhelming at first – we all felt the same way on our first go.
Check your basics first:
- Handbrake is on (you’ll hear a click when it’s secure)
- Gear stick is in neutral (if learning manual)
- Clutch pedal is pressed down fully (manual cars only)
The actual starting process is simpler than you might think. Put the key in the ignition and turn it clockwise until the engine starts. In newer cars, you might have a start button instead.
Listen to the engine’s sound. Your instructor will help you recognise what a healthy engine sounds like. This becomes important later when you’re learning about different engine speeds.
Modern cars make starting easier. Many have safety features that prevent starting unless everything is set correctly. If nothing happens when you turn the key, don’t panic – your instructor will help you check what needs adjusting.
Take a moment to feel proud. You’ve just started a car for the first time! This small step marks the beginning of your journey towards independence on the roads.
Moving Off Safely And Building Confidence
Moving off smoothly takes practice, and your instructor won’t expect perfection straight away. We’ll break this down into manageable chunks that make sense.
For manual cars, you’ll learn the “biting point”. This is where the clutch plates start to connect. Press the clutch down, put the car in first gear, then slowly lift your left foot until you feel the car wanting to move forward. The engine sound will change slightly too.
Your right foot controls the accelerator. Give it a gentle press while slowly releasing the clutch. Think of it like a seesaw – as one foot comes up, the other goes down gradually.
Automatic cars are much simpler. Select Drive, release the handbrake, and gently press the accelerator. The car will move forward smoothly without any clutch work needed.
Don’t forget the handbrake! Release it fully once you feel the car pulling forward. Leaving it on partially can damage the car and create an awful smell.
Your first few attempts might be jerky. This is completely normal and happens to everyone. Your instructor has experienced this thousands of times before and will guide you through each attempt with patience.
The key is staying relaxed. Tense muscles make smooth control much harder to achieve.
Bringing The Car To A Smooth Stop
Stopping smoothly is just as important as moving off well. Your instructor will choose a safe, quiet area for you to practice this essential skill.
Start slowing down early. Press the brake pedal gently with your right foot. In manual cars, press the clutch pedal down when the car slows to walking pace to prevent stalling.
Think of braking as a gradual process rather than an emergency action. Apply steady pressure at first, then ease off slightly as you approach your stopping point for a smooth finish.
The handbrake secures your stop. Once you’ve stopped completely, pull the handbrake up firmly until you hear it click. This prevents the car from rolling, especially on slopes.
Put the car in neutral (manual) or Park (automatic) when you’re stationary for more than a few seconds. This takes pressure off the engine and makes the car more stable.
Don’t worry about stopping distances yet. Your instructor will guide you to appropriate stopping points. Focus on the feeling of smooth, controlled braking rather than precision placement.
Remember, every professional driver once sat where you’re sitting now, learning these same fundamental skills. You’re doing brilliantly just by taking this first step.
On The Road: Steering, Awareness, And Early Habits
Once you’re ready to move the car, we’ll focus on proper steering technique and developing the observation skills that keep you safe. These foundational habits will shape how confidently you navigate roads throughout your driving journey.
Holding The Steering Wheel And Navigating Turns
We’ll show you the correct hand positions on the steering wheel during your first lesson. Place your hands at the 9 and 3 o’clock positions (or 10 and 2 if that feels more comfortable). This gives you maximum control and lets you turn the wheel smoothly.
Your grip should be firm but relaxed. Think of holding a small bird – secure enough that it won’t fly away, but gentle enough not to hurt it. Tense shoulders and white knuckles will only make steering harder.
For turning corners, we use the “pull-push” method:
- Pull down with one hand whilst the other guides
- Let the wheel slide through your hands on gentle bends
- Keep both hands on the wheel whenever possible
Don’t cross your arms over each other when turning. If the airbag deploys, crossed arms can cause serious injury.
We’ll practise these techniques on quiet roads first. Most learners find steering feels strange initially, but muscle memory develops quickly with repetition.
Checking Mirrors And Building Observation Skills
Mirror checks become second nature with practice. We’ll teach you the MSM routine: Mirror, Signal, Manoeuvre. Check your mirrors every 8-10 seconds, even when driving straight.
Your interior mirror shows what’s directly behind you. Side mirrors reveal vehicles in adjacent lanes. Adjust them during your cockpit drill so you see a small portion of your car’s side and mostly the road behind.
Blind spots are areas your mirrors can’t show. Before changing lanes or turning, do a quick shoulder check. Turn your head briefly to see what’s lurking in these hidden zones.
We’ll help you recognise potential hazards early:
- Pedestrians stepping between parked cars
- Children playing near roads
- Cyclists appearing at junctions
- Other drivers’ unpredictable behaviour
Good observation means scanning constantly. Look near and far, left and right. Your eyes should never stop moving and gathering information about your surroundings.
Building Foundations: Road Rules And Key Knowledge
The Highway Code forms the backbone of safe driving, while understanding road signs and preparing for your theory test will give you the confidence to tackle real driving situations from day one.
Introduction To The Highway Code
The Highway Code isn’t just a book you’ll need for your theory test. It’s your roadmap to becoming a safe, confident driver who knows exactly what’s expected on British roads.
Think of the Highway Code as your driving bible. It covers everything from basic road positioning to complex junction rules. Your instructor will reference it constantly during lessons, so getting familiar with it early gives you a real head start.
Start with these essential sections:
- Rules for pedestrians and cyclists
- Traffic signs and road markings
- General rules for all drivers
- Road junctions and roundabouts
Don’t try to memorise everything at once. Focus on understanding the logic behind each rule. For example, the two-second rule for following distances makes perfect sense when you realise it gives you enough time to react safely.
Many learners find the online version easier to navigate than the physical book. You can search for specific topics and bookmark sections you need to revisit.
Understanding Road Signs And Common Markings
Road signs are like a language, and once you crack the code, driving becomes much less intimidating. The good news is that most signs use logical shapes and colours that actually help you remember their meanings.
Circular signs give orders (like speed limits), triangular signs warn you of hazards ahead, and rectangular signs provide information. This simple system makes much more sense than trying to memorise hundreds of individual signs.
Start with the signs you’ll see most often:
- Stop and give way signs
- Speed limit signs
- No entry and one-way signs
- Parking restrictions
- Pedestrian crossings
Road markings tell their own story too. Solid white lines mean “don’t cross,” while broken lines usually mean you can overtake if it’s safe. Yellow lines indicate parking restrictions, with double yellows being stricter than single ones.
Pay special attention to lane markings at roundabouts and major junctions. These painted guides will literally show you where to position your car, making complex manoeuvres much clearer.
Theory Test Preparation Tips
Your theory test knowledge will make your practical lessons far more productive. When you understand why you’re doing something, not just how to do it, everything clicks into place much faster.
Use official DVSA materials for your revision. Third-party apps and books might seem easier, but they sometimes contain outdated or incorrect information that could trip you up.
Practice hazard perception clips regularly, but don’t just click randomly. Train yourself to spot developing situations: a child near a kerb, a car waiting to pull out, or brake lights ahead in traffic.
Create a study routine that works:
- 15 minutes daily beats cramming for hours
- Mix theory questions with hazard perception
- Review your mistakes carefully
- Take mock tests weekly as your test approaches
Connect your theory learning to your practical lessons. When your instructor explains mirror checks at roundabouts, you’ll remember the Highway Code rules that support this technique.
The theory test isn’t just a hurdle to overcome. It’s building the mental framework that will keep you safe for decades of driving ahead.
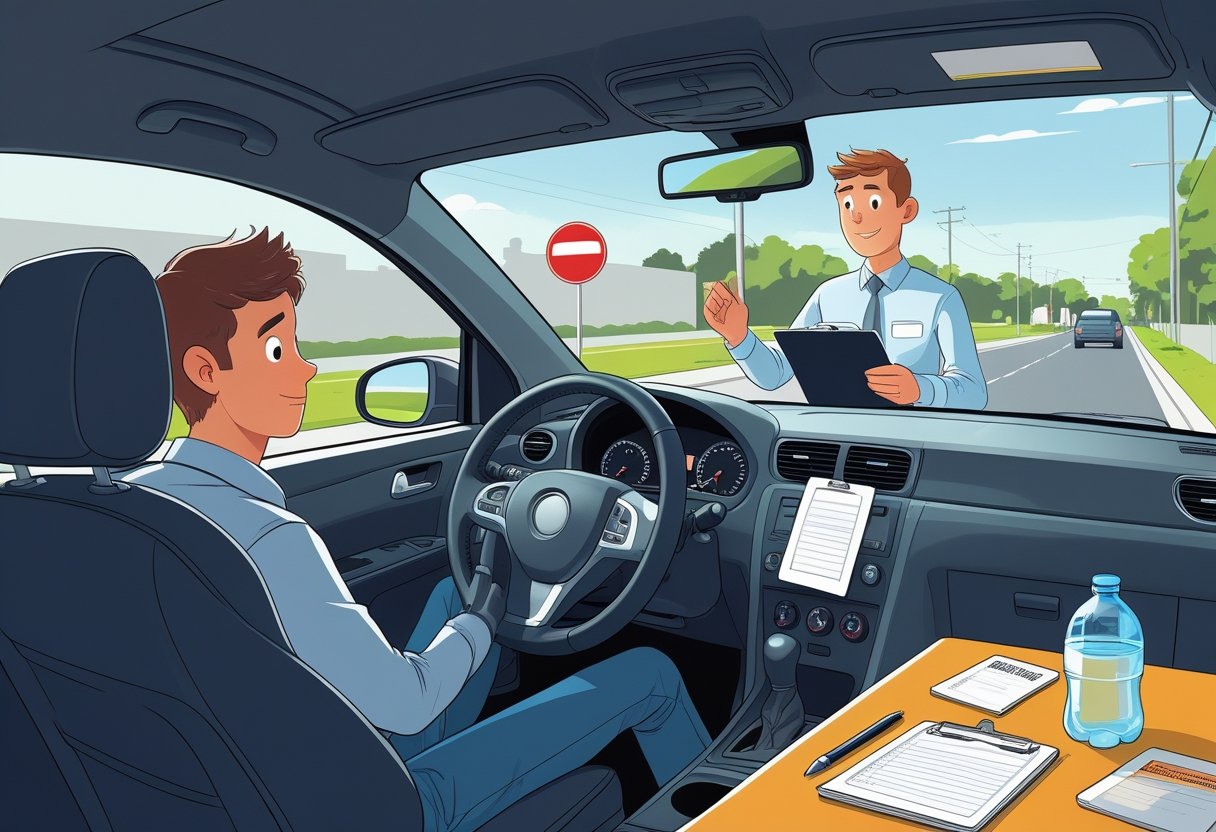
Reflecting On Your Lesson And Planning The Next Steps
Your driving instructor will want to discuss how things went and help you build on what you’ve learned today. Taking time to set clear goals for your upcoming lessons will keep you moving forward at a steady pace.
Discussing Feedback With Your Instructor
Your driving instructor will sit down with you after the lesson to talk through your progress. They’ll highlight the things you did well, like staying calm at junctions or managing the clutch smoothly.
What your instructor will cover:
- Skills you picked up quickly during the session
- Areas that need more practice before your next lesson
- Specific techniques to work on between now and then
Don’t worry if they mention things to improve. Every learner driver has strengths and challenges. Your instructor sees dozens of new drivers each month, so they know exactly what’s normal at this stage.
They might suggest practising certain movements in your head, like the sequence for moving off safely. Some instructors give you a small logbook to track your progress between lessons.
Ask questions if something wasn’t clear during the drive. Now’s the perfect time to clarify anything about mirrors, signalling, or gear changes whilst it’s fresh in your memory.
Setting Goals For Your Next Lesson
Your instructor will outline what you’ll focus on next time based on today’s session. This keeps your learning to drive journey structured and builds your skills step by step.
Common goals for lesson two might include:
- Smoother gear changes and clutch control
- Practising turns at quiet T-junctions
- Building confidence with steering on slightly busier roads
- Working on observation skills and mirror checks
Write down these goals or save them in your phone. Having clear targets helps you feel more prepared when you arrive for your next lesson.
Your instructor might recommend practising basic car control in a car park with a qualified driver. This extra practice between lessons can speed up your progress significantly.
Some driving schools offer theory test apps or online resources. Ask if they have materials that link with what you’re learning practically.
Frequently Asked Questions
Many new learners wonder about specific details like what they’ll need to bring, whether they’ll spend the entire lesson driving, and how their instructor keeps them safe during those crucial first moments behind the wheel.
How can I best prepare myself before getting behind the wheel for the first time?
We recommend starting with the Highway Code well before your first lesson. Spending time reading about road signs, speed limits, and basic traffic rules will give you a solid foundation.
Getting familiar with your instructor’s car model online can work wonders too. Look up interior photos and videos showing the dashboard layout, gear stick position, and control locations.
Wear comfortable clothes that won’t restrict your movement when sitting and turning. Choose trainers or shoes with thin soles rather than thick boots, as you’ll need to feel the pedals properly.
Make sure you get plenty of sleep the night before. Being well-rested helps you stay alert and absorb everything your instructor teaches you.
What kind of manoeuvres will I learn during my initial driving lesson?
Your first lesson focuses on the absolute basics rather than complex manoeuvres. We’ll start with moving off smoothly from a stationary position and getting comfortable with the accelerator and brake.
You’ll practice steering in straight lines and gentle turns on quiet roads. Most learners only reach second or third gear during their first outing.
Simple stopping and starting exercises help you understand how the car responds to your inputs. We always choose quiet residential streets or empty car parks for these early attempts.
Don’t expect roundabouts, parallel parking, or busy main roads on day one. Building your confidence with basic vehicle control comes first.
Will I be driving for the entirety of the first lesson, or are there other learning activities involved?
You won’t jump straight into the driver’s seat when we first meet. We spend significant time going through the cockpit drill, which covers adjusting your seat, mirrors, and steering wheel position.
Your instructor will explain all the main controls whilst the car is stationary. This includes the pedals, handbrake, indicators, windscreen wipers, and gear stick if you’re learning in a manual car.
The actual driving portion typically lasts around 20 to 30 minutes of your lesson time. We use the remaining time for explanations, questions, and feedback about your progress.
Some instructors prefer to drive you to a quiet practice area first, then swap places for your turn behind the wheel.
How does the instructor ensure my safety while I’m learning to drive?
All approved driving instructors have dual controls fitted in their vehicles. This means we can operate the brake and clutch from the passenger seat if needed.
Your instructor car displays clear learner plates, alerting other drivers to give you extra space and patience on the road.
We carefully select practice routes that match your current skill level. First lessons always take place on quiet streets with minimal traffic and hazards.
Your instructor constantly monitors the road ahead and will give you clear, timely instructions about when to slow down, stop, or change direction. We’re always ready to step in if the situation requires it.
What should I bring along to my first driving lesson to be fully prepared?
Your provisional driving licence is absolutely essential. You cannot legally drive without it, and your instructor needs to check it before the lesson begins.
Bring any booking confirmation emails or paperwork you received when arranging the lesson. This helps avoid any confusion about timing or meeting locations.
If you wear glasses or contact lenses for distance vision, make sure you have them with you. Sunglasses can be helpful on bright days too.
Consider bringing a small notebook and pen to jot down key points your instructor mentions. A water bottle keeps you refreshed, especially during longer lessons.
Can you give me a brief overview of what the first driving lesson typically involves?
Your instructor will either collect you from home or meet you at an agreed location. After introductions and licence checks, we’ll head to a quiet area suitable for beginners.
The cockpit drill comes next, covering seat adjustment, mirror positioning, and familiarising yourself with all the main controls. This foundation work is crucial for safe driving.
Once you’re comfortable, we’ll guide you through starting the engine, moving off slowly, and practicing basic steering and speed control. Expect to cover very short distances at low speeds.
The lesson ends with feedback about your progress and discussion about what to focus on before your next session. We’ll drive you back to your starting point whilst chatting about any questions you might have.