Essential Car-Control Skills for Beginners: A Friendly, Practical Guide
Learning to drive can feel overwhelming at first, but every confident driver started exactly where you are now. The good news is that building solid car-control skills doesn’t require years of experience or natural talent. Mastering just a handful of essential techniques will give you the foundation you need to drive safely and confidently from your very first solo journey.
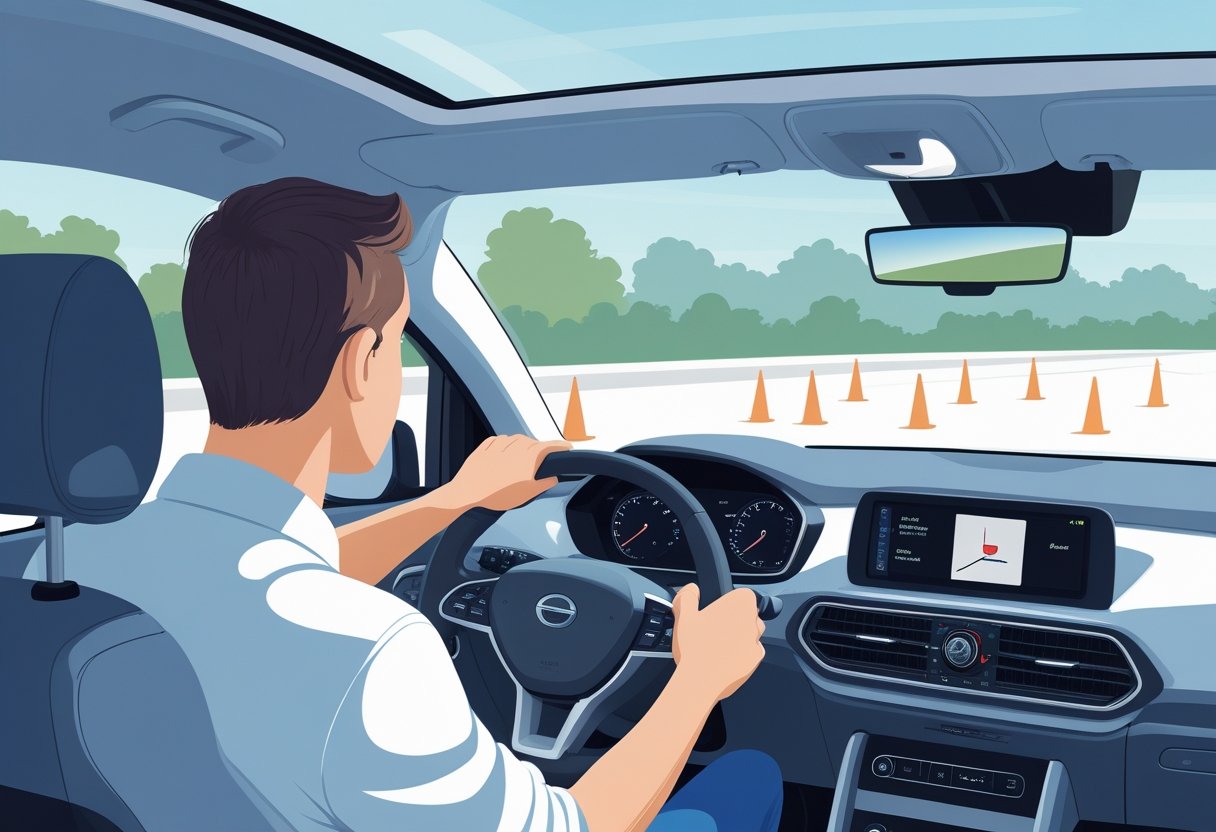
We understand that sitting behind the wheel for the first time brings a mix of excitement and nerves. Your hands might feel uncertain on the steering wheel, and coordinating the pedals can seem like juggling. That’s completely normal, and we’re here to guide you through each skill step by step.
The techniques we’ll share aren’t just theory from a textbook. These are the practical, real-world skills that will help you navigate roundabouts smoothly, park with confidence, and handle unexpected situations calmly. Whether you’re preparing for your first lesson or looking to improve before your test, these fundamentals will set you up for driving success.
Key Takeaways
- Learn proper steering, pedal control, and gear changes to build a strong foundation for safe driving
- Develop smooth acceleration and braking techniques that keep you in control during real-world situations
- Build confidence through understanding your car’s controls and practising essential manoeuvres regularly
Understanding Core Car Controls
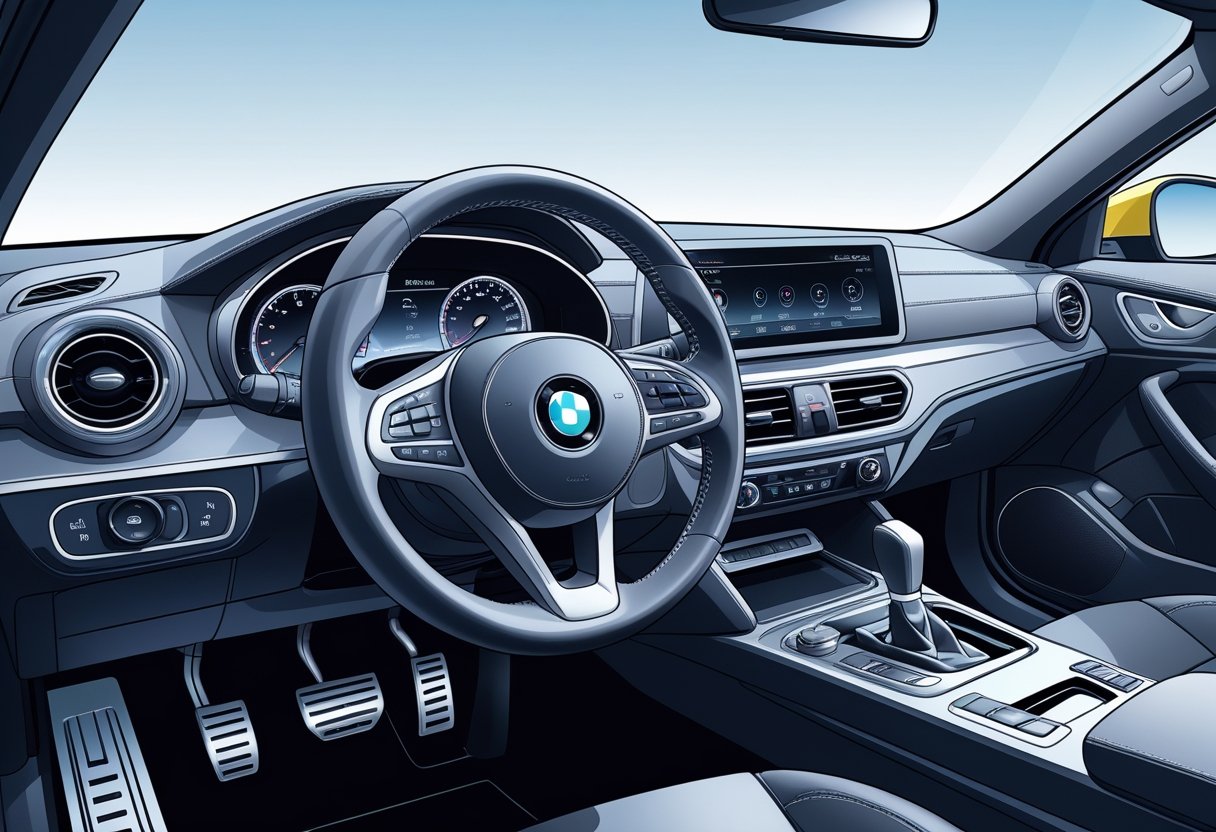
Learning to operate your vehicle’s main controls smoothly and confidently forms the foundation of safe driving. These three essential systems work together to help you accelerate, steer, and stop your car effectively.
How Pedals Work: Accelerator, Brake, and Clutch
The accelerator pedal sits on the right side of the footwell and controls your engine’s power output. Press it gently with your right foot to increase speed, releasing pressure to slow down naturally. We recommend practising light, steady pressure rather than sudden movements.
Your brake pedal occupies the middle position (or left position in automatics). Apply gradual pressure with your right foot to engage the brake lights and slow your vehicle. Progressive braking prevents skidding and gives other drivers proper warning.
The clutch pedal appears only in manual cars, positioned on the far left. Press it fully with your left foot when changing gears or starting the engine. This pedal disconnects the engine from the gearbox temporarily.
Key pedal tips:
- Use only your right foot for accelerator and brake
- Keep your heel on the floor for better control
- Never ride the clutch (keeping it partially pressed)
Steering Wheel Functions and Adjustments
Your steering wheel does far more than just change direction. Most modern cars include controls for indicators, windscreen wipers, and cruise control mounted on stalks behind the wheel.
Before driving, adjust your seat so you can reach the wheel comfortably with slightly bent arms. Your hands should sit at the “quarter to three” position for optimal control and airbag safety.
The push-pull steering technique works best for smooth turns. Push the wheel up with one hand whilst pulling down with the other, rather than crossing your arms over. This method keeps you in control during longer turns.
Many steering wheels also adjust for height and reach. Pull the adjustment lever (usually beneath the steering column) and move the wheel to your preferred position before locking it back in place.
Using Handbrake and Indicators Effectively
Your handbrake (or parking brake) secures your car when stationary and helps with hill starts. Pull the lever up firmly when parking, and press the release button whilst lowering it to disengage. Some newer vehicles have electronic handbrakes operated by a switch.
We always apply the handbrake during longer stops at traffic lights or when parking on any incline. This prevents your car from rolling and reduces strain on your brake pedal.
Indicators communicate your intentions to other road users. The left stalk typically controls these lights. Push down for left turns, up for right turns. The clicking sound confirms they’re working properly.
Most indicators cancel automatically after turning, but you’ll need to switch them off manually when changing lanes. Check your indicator lights work during your daily vehicle checks, as faulty signals create dangerous situations for everyone on the road.
Mastering Pedal Skills for Smooth Driving
Learning proper pedal technique transforms your driving from jerky and stressful to confident and controlled. We’ll explore how progressive braking keeps you safe, gentle acceleration maintains passenger comfort, and clutch coordination helps you find that crucial biting point for seamless gear changes.
Progressive Braking for Safety
The brake pedal becomes your best friend once you master its gentle touch. We recommend starting your braking early and applying pressure gradually rather than slamming on at the last second.
Your right foot should rest lightly on the brake pedal before slowly increasing pressure. This technique gives you better control and prevents that uncomfortable lurching sensation your passengers definitely won’t appreciate.
Key progressive braking steps:
- Lift off the accelerator first
- Apply gentle pressure to the brake pedal
- Gradually increase force as needed
- Ease off slightly just before stopping
Practice this in empty car parks where you can focus on feeling how your car responds. Different vehicles have varying brake sensitivity, so spend time getting familiar with yours.
Emergency situations require firm, sustained pressure on the brake pedal. Don’t pump the brakes in modern cars with ABS systems. Instead, press hard and hold steady whilst steering around obstacles if possible.
Gentle and Controlled Acceleration
Smooth acceleration starts with understanding your accelerator pedal’s sensitivity. We find that new drivers often press too hard, creating that unpleasant jerky motion that makes everyone uncomfortable.
Place your right foot gently on the accelerator and apply pressure gradually. Think of it like slowly turning up the volume on your stereo rather than jumping straight to maximum.
Acceleration techniques that work:
- Start with feather-light pressure
- Increase gradually and steadily
- Maintain consistent pressure for steady speeds
- Ease off gently when approaching corners
Your car should respond smoothly without sudden surges of power. If you’re accelerating too quickly, passengers will feel pushed back into their seats uncomfortably.
Practice finding that sweet spot where your car responds predictably to pedal inputs. This skill becomes invaluable in heavy traffic, wet conditions, or when carrying nervous passengers who appreciate your newfound smoothness.
Clutch Coordination and Finding the Biting Point
The clutch pedal in manual cars initially feels like a mystery, but finding the biting point becomes second nature with practice. We’ll help you master this essential skill that separates smooth drivers from stalling beginners.
Press the clutch pedal fully down with your left foot, then slowly release it until you feel the car wanting to move forward. That’s your biting point – the magical moment where engine and gearbox connect.
Finding your biting point:
- Clutch fully pressed down (neutral position)
- Slowly lift your foot until car vibrates slightly
- Hold this position whilst gently pressing accelerator
- Release clutch gradually whilst adding more throttle
Every car has a different biting point, usually about halfway up the clutch pedal’s travel. Some cars grab early, others late in the pedal movement.
Practice clutch coordination by finding the biting point repeatedly without stalling. Start on flat ground before attempting hills, where clutch control becomes even more critical for preventing embarrassing backwards rolls.
Remember, your clutch coordination improves dramatically with regular practice, so don’t get discouraged by initial stalls.
Steering Techniques Every Beginner Should Know
Learning proper steering techniques builds the foundation for confident car control. We’ll cover the correct hand positioning, safe steering methods for different situations, and how to adapt your technique when road conditions change.
Holding the Steering Wheel with Confidence
The way we position our hands on the steering wheel directly affects our ability to control the car safely. Modern driving instructors recommend the 9 and 3 o’clock position rather than the old 10 and 2 method.
This lower hand placement offers several advantages. It reduces strain on our shoulders and arms during longer drives. We also get better leverage and can make smoother steering adjustments.
Key hand positioning tips:
- Place hands at 9 and 3 o’clock positions
- Keep thumbs on the outside of the wheel rim
- Maintain a firm but relaxed grip
- Avoid gripping too tightly, which causes fatigue
The correct grip feels secure without being tense. Think of holding a bird – firm enough that it won’t fly away, but gentle enough not to hurt it.
We should adjust our seat position so our arms have a slight bend when holding the wheel. This prevents overreaching and gives us better control during turns.
Push-Pull and Other Safe Steering Methods
Different driving situations require different steering techniques. The push-pull method works best for most everyday driving scenarios.
With push-pull steering, one hand pushes the wheel up whilst the other pulls down. This technique keeps both hands on the wheel and prevents our arms from crossing over.
Push-pull technique steps:
- Start with hands at 9 and 3 position
- Push up with one hand whilst pulling down with the other
- Slide hands back to starting position
- Repeat as needed for sharper turns
Hand-over-hand steering suits tight manoeuvres like parking or three-point turns. We cross one hand over the other to turn the wheel further, then return to the proper position.
For slight course corrections, we can use gentle pressure with our palms. Small adjustments help us maintain our lane without oversteering.
One-handed steering should only happen when absolutely necessary, such as when reversing whilst looking over our shoulder.
Adjusting Steering for Various Road Conditions
Road conditions dramatically affect how our car responds to steering inputs. Wet, icy, or uneven surfaces require us to modify our technique.
On wet roads, we need gentler steering movements. The tyres have less grip, so sudden turns can cause skidding. We should slow down before turns and make gradual steering adjustments.
Steering adjustments for different conditions:
| Road Condition | Steering Approach | Key Points |
|---|---|---|
| Wet surfaces | Gentle, gradual turns | Reduce speed, avoid sudden movements |
| Icy conditions | Very smooth inputs | Slow speeds, minimal corrections |
| Gravel roads | Steady, controlled steering | Expect some sliding, stay relaxed |
| Highway driving | Minimal adjustments | Small corrections, focus ahead |
Strong crosswinds can push our car sideways. We counter this by applying gentle pressure in the opposite direction. The key is making small, continuous adjustments rather than fighting the wheel.
When driving on cambered roads (where one side is higher), our car naturally pulls towards the lower side. We compensate with light pressure to keep the car tracking straight.
Uneven road surfaces can make the steering wheel jerk in our hands. We maintain a secure grip without tensing up, allowing the wheel to move slightly whilst keeping overall control.
Getting to Grips with Gears
Understanding how gears work is one of the most important skills you’ll develop as a new driver. Whether you’re learning in a manual car where you control every gear change or starting with an automatic that handles most of the work for you, knowing what’s happening under the bonnet will make you a more confident driver.
Manual Transmission: Changing Gears Smoothly
Learning to change gears in a manual car might feel overwhelming at first, but we promise it becomes second nature with practice. The key is understanding how the clutch, gear stick, and accelerator work together as a team.
Finding the Biting Point
The biting point is where the magic happens. It’s the exact moment when your clutch begins to engage and your car starts moving forward. Press the clutch fully down, select first gear, then slowly release the clutch pedal whilst gently pressing the accelerator.
You’ll feel the car start to move when you hit that sweet spot. This is your biting point, and every car has a slightly different one.
The Art of Smooth Gear Changes
Here’s our step-by-step approach to changing gears smoothly:
- Press the clutch completely with your left foot
- Move the gear stick to your desired gear with confidence
- Release the clutch gradually whilst applying gentle pressure to the accelerator
- Complete the movement by fully releasing the clutch
Common Mistakes to Avoid
- Rushing the process (this often leads to stalling)
- Not pressing the clutch fully before changing gears
- Releasing the clutch too quickly
- Over-revving the engine
The neutral position becomes your best friend when you’re stationary. It’s where you’ll sit at traffic lights and when starting your engine.
Automatic Car Gear Selection Basics
Driving an automatic car takes much of the guesswork out of changing gears, but understanding your gear selector is still crucial for safe driving.
Understanding Your Gear Selector
Most automatic cars use a simple pattern:
- P (Park): Use when parked and engine off
- R (Reverse): For backing up
- N (Neutral): Similar to neutral in a manual car
- D (Drive): Your main driving gear for forward motion
Making the Most of Automatic Transmission
Your automatic car is clever, but you can help it make better decisions. When approaching hills, the transmission might shift down automatically. On motorways, it’ll find the most efficient gear for cruising.
Some automatic cars offer manual mode or paddle shifters. These give you more control when you want it, like when overtaking or driving down steep hills.
Practical Tips for Automatic Driving
Always come to a complete stop before shifting from Drive to Reverse. Your transmission will thank you for this gentle treatment.
Use your handbrake on hills, even in an automatic car. Don’t rely on the transmission to hold you in place for extended periods.
Essential Skills for Real-World Situations
Learning basic car controls is just the start of your driving journey. Real driving means handling challenging situations like steep hills, communicating clearly with other drivers, and knowing exactly when your handbrake becomes your best friend.
Hill Starts and Clutch Control in Stop-Start Traffic
Hills can feel intimidating at first, but with proper technique, you’ll tackle them with ease. The key is finding your clutch’s biting point whilst keeping your handbrake engaged.
Start by selecting first gear and slowly lifting the clutch pedal. You’ll feel the car wanting to move forward as the clutch plates connect. This is your biting point.
Hold the clutch steady at this position. Apply gentle pressure to the accelerator whilst slowly releasing the handbrake. The car should move forward smoothly without rolling backward.
In stop-start traffic on inclines, this technique becomes essential. Many learners panic when cars queue on hills, but remember: take your time and use the handbrake confidently.
Practice tip: Find a quiet hill and practise hill starts repeatedly. Start with gentle slopes before attempting steeper gradients. Your confidence will grow with each successful attempt.
Traffic jams on hills aren’t uncommon in busy areas. Keep a safe distance from the car in front, and don’t rush the process. Other drivers understand that learners need extra space.
Using Indicators, the Horn, and Signals Correctly
Clear communication prevents accidents and keeps traffic flowing smoothly. Your indicators are your primary tool for showing other road users your intentions.
Signal early and clearly: Indicate well before turning, but not so early that other drivers become confused about your plans. Generally, signal about 100 metres before your turn in built-up areas.
Cancel your indicators after completing manoeuvres. Nothing confuses other drivers more than indicators that stay on unnecessarily.
Your horn serves as an important safety tool, but use it wisely. Sound your horn to warn others of your presence, particularly at blind corners or when visibility is poor.
When to use your horn:
- Approaching blind bends on narrow roads
- Warning pedestrians who haven’t noticed your approach
- Alerting distracted drivers at traffic lights
Avoid using your horn aggressively or between 11:30 PM and 7:00 AM in built-up areas, as this violates traffic regulations.
Hand signals rarely get used today, but knowing them helps in emergencies. If your indicators fail, clear arm signals through your window can communicate your intentions effectively.
Knowing When to Use the Handbrake
Your handbrake does much more than just park your car. Smart handbrake use makes driving safer and reduces wear on your clutch and brakes.
Apply the handbrake whenever you stop for more than a few seconds. This prevents your car rolling and takes pressure off your clutch in manual vehicles.
Essential handbrake situations:
- Traffic lights and long queues
- Hill starts (as we’ve covered)
- Any stop lasting over 10 seconds
- Parking, even on flat surfaces
In automatic cars, engage the handbrake even when in ‘Park’. This reduces strain on the parking pawl and provides additional security.
Release the handbrake smoothly when moving off. Jerky releases can cause the car to jolt forward unexpectedly.
Some modern cars have electronic parking brakes that engage automatically. Familiarise yourself with your specific vehicle’s system during lessons.
The neutral position becomes useful when you’re stopped for extended periods. Shift into neutral, apply the handbrake, and give your clutch foot a rest. Your instructor will guide you on when this technique works best.
Safe Driving Habits for New Drivers
Developing strong safety habits from day one will set you up for success both during your driving test and throughout your motoring life. We’ll focus on reading the road properly, keeping sensible distances, and building the consistent behaviours that driving examiners look for.
Observing Road Conditions and Adjusting Controls
Your eyes are your most important safety tool when you’re behind the wheel. We recommend scanning the road 12 to 15 seconds ahead of your car, not just focusing on the vehicle directly in front of you.
Weather changes everything about how you should drive. When it’s raining, your stopping distance can double. We suggest reducing your speed by at least 10mph in wet conditions and even more when there’s standing water.
Check your mirrors every 5 to 8 seconds to stay aware of what’s happening around you. This habit becomes automatic with practice and shows your driving examiner that you’re thinking like a safe driver.
Key adjustments for different conditions:
- Foggy weather: Use dipped headlights and slow down significantly
- Icy roads: Gentle inputs on all controls, much slower speeds
- Heavy traffic: Increase following distance, cover the brake pedal
- Night driving: Reduce speed, use full beam when appropriate
Your hands should stay at the 9 and 3 o’clock positions on the steering wheel. This gives you maximum control when road conditions demand quick reactions.
Maintaining Safe Following Distances
The famous “two-second rule” isn’t quite enough in most situations. We recommend using the three-second rule as your minimum safe distance, and extending this when conditions aren’t perfect.
Here’s how to measure your following distance: Pick a fixed object ahead like a lamp post or road sign. When the car in front passes it, count “one thousand and one, one thousand and two, one thousand and three.” You should reach the same point after finishing your count.
Double this distance in wet weather. Triple it when there’s ice or snow on the roads. Your driving test examiner will be watching to see that you understand these principles.
Why proper following distance matters:
- Gives you time to react to sudden braking
- Reduces the risk of rear-end collisions
- Shows other drivers you’re in control
- Allows smoother traffic flow
Remember that larger vehicles need even more space to stop. When you’re following a lorry or bus, add an extra second to your count.
Building Good Habits for the Driving Test
Consistency is what separates good drivers from great ones. During your lessons and practice sessions, focus on doing the same safety checks every single time you get in the car.
Your driving examiner will notice if you’ve developed genuine safety habits or if you’re just going through the motions. We’ve seen countless learners pass their test because they made observation and safety their priority from day one.
Daily habits that impress examiners:
- Mirror checks: Regular glances, not just when changing lanes
- Speed awareness: Matching your speed to conditions, not just speed limits
- Positioning: Keeping proper lane position around corners and parked cars
- Observation: Looking for pedestrians, cyclists, and potential hazards
Practice these habits during every single journey, even short trips to the shops. Your muscle memory will thank you when test day arrives, and you’ll find yourself naturally driving more safely.
Start each lesson by adjusting your seat, mirrors, and steering wheel position. This routine helps you feel settled and ready to focus on developing these crucial safety skills.
Frequently Asked Questions
New drivers often have similar worries about pedal control, steering smoothness, gear changes, navigating roundabouts, reversing manoeuvres, and managing traffic stress.
What’s the best way to gain confidence with the accelerator and brake pedals?
Start by practising the “push-pull” method with your right foot. Rest your heel on the floor and pivot between the brake and accelerator using just your ankle movement.
We recommend spending time in an empty car park getting familiar with how much pressure creates which response. Your car’s pedals have their own personality, so take time to learn their sensitivity.
Try the progressive pressure technique. Press the accelerator gently at first, then gradually increase pressure to feel how your car responds. This builds muscle memory and prevents jerky movements.
For braking, practice applying steady, gradual pressure rather than sudden stops. Start braking earlier than you think you need to. This gives you time to adjust and creates smoother stops that won’t alarm your passengers.
How can I perfect my steering technique for smoother turns?
The key is using the push-pull steering method rather than the old hand-over-hand technique. This gives you better control and keeps your hands in the proper position.
Position your hands at quarter to three or ten to two on the steering wheel. Keep your grip firm but relaxed, as tension in your arms creates choppy steering movements.
When turning, slow down before the corner, maintain steady speed through the turn, then gently accelerate as you exit. This prevents your car from understeering or feeling unstable.
Look where you want to go, not at obstacles or the kerb. Your hands naturally follow your eyes, so proper vision leads to smoother steering inputs.
Practice makes perfect here. Find quiet roads with gentle curves and focus on making your steering inputs as smooth as possible.
Can you offer tips for mastering the art of smooth gear shifting?
Timing is everything with manual transmissions. Learn to feel your engine’s rhythm and shift when the revs sound right, usually between 2,000 and 3,000 RPM for normal driving.
Press the clutch fully to the floor every time you shift. Halfway clutch pressing causes grinding and rough changes that make passengers uncomfortable.
Use the bite point to your advantage. Find where your clutch starts to engage and practice controlling that moment for smoother take-offs and gear changes.
Shift decisively but not aggressively. Quick, confident movements work better than slow, hesitant ones. Your gearbox responds well to clear intentions.
Match your engine speed when downshifting. A slight blip of the accelerator as you change down helps synchronise everything for silky smooth shifts.
What are the key points to remember when approaching a roundabout for the first time?
Slow down well before the roundabout and look for the give way markings. Traffic already on the roundabout always has right of way over traffic entering.
Check your mirrors early and signal your intentions. Left signal for first exit, no signal for straight ahead, right signal for turning right or going beyond twelve o’clock.
Look for gaps in traffic coming from your right. You need enough space to enter safely without forcing other drivers to brake or change their path.
Once you’re on the roundabout, maintain a steady speed and stay in your lane. Don’t stop on the roundabout unless traffic ahead prevents you from moving.
Signal left as you pass the exit before your intended exit. This tells other drivers you’re leaving and helps traffic flow smoothly.
Could you guide me through the process of reversing safely and accurately?
Set up your mirrors and seat position before you start reversing. You want clear views of your car’s corners and the area behind you.
Use reference points on your car to judge distances and positioning. The edge of your rear window or door mirrors can help you align with parking spaces or driveways.
Go slowly and be prepared to stop. Reversing should feel controlled and deliberate, never rushed or panicked.
Check all around your car regularly, not just behind. Children, pets, and other hazards can appear from any direction while you’re focused on reversing.
Practice reversing into parking spaces and driveways regularly. The more you reverse, the better your spatial awareness becomes.
If you’re unsure about clearance or positioning, stop and get out to check. It’s better to take an extra moment than risk damage or accidents.
What strategies can I use to stay calm and collected during heavy traffic conditions?
Plan extra time for your journeys so you don’t feel pressured by delays. Rushing creates stress and leads to poor decision-making behind the wheel.
Increase your following distance in heavy traffic. This gives you more reaction time and reduces the stop-start driving that creates frustration.
Focus on smooth, predictable movements. Sudden lane changes and aggressive acceleration waste fuel and increase stress for everyone around you.
Use the three-second rule religiously in traffic. Pick a fixed point ahead and count the seconds between the car in front passing it and your car reaching it.
Keep your cabin comfortable with good ventilation and calming music. Physical comfort helps maintain mental composure during stressful driving situations.
Remember that traffic affects everyone equally. Getting frustrated won’t make it move faster, but staying calm keeps you safe and alert for when conditions improve.