Reading Road Markings Correctly: Arrows, Lane Dividers & Yellow Boxes Demystified
Road markings might seem like simple painted lines and symbols, but they’re actually a sophisticated communication system that keeps Britain’s roads safe and organised. Every arrow, divider, and coloured box tells a specific story about where you can drive, when you can park, and how to navigate complex junctions safely.
Understanding these visual cues correctly is essential for passing your driving test and becoming a confident, responsible driver on UK roads. The Highway Code provides clear guidance on what each marking means, but knowing how to read them quickly in real-world driving situations takes practice and understanding.
We’ve all been there: approaching a busy roundabout with multiple lane arrows pointing in different directions, or pulling up to a yellow box junction wondering whether it’s safe to enter. Learning to decode these markings transforms confusing road situations into clear, manageable decisions that help you drive with confidence.
Key Takeaways
- Road markings provide essential safety information through arrows, lines, and coloured boxes that guide traffic flow and indicate restrictions
- Different line types like broken, solid, and double lines each have specific rules about when you can cross or change lanes
- Yellow box junctions, parking restrictions, and priority markings require understanding specific Highway Code rules to navigate legally and safely
Decoding Directional Arrows and Lane Dividers
We’ll explore how to read lane divider lines, directional arrows, and white diagonal markings that guide traffic flow. These markings help keep you in the right position and show when it’s safe to change lanes or overtake.
Lane Divider Lines and Their Meanings
Lane dividers come in different forms, and each type tells you something important about what you can and can’t do.
Broken white lines mark the centre of the road. When you see these, you can cross them to overtake or turn, but only when it’s completely safe. If the broken line gets longer with shorter gaps, there’s a hazard ahead.
Solid white lines mean you must not cross or straddle them. However, there are a few exceptions in the Highway Code. You can cross if you need to enter premises or a side road, pass a stationary vehicle, or overtake a road maintenance vehicle travelling at 10 mph or less.
Double white lines work differently depending on which line is closest to you. If the nearest line is broken, you may cross to overtake safely. If the nearest line is solid, you must not cross except for the same exceptions as single solid lines.
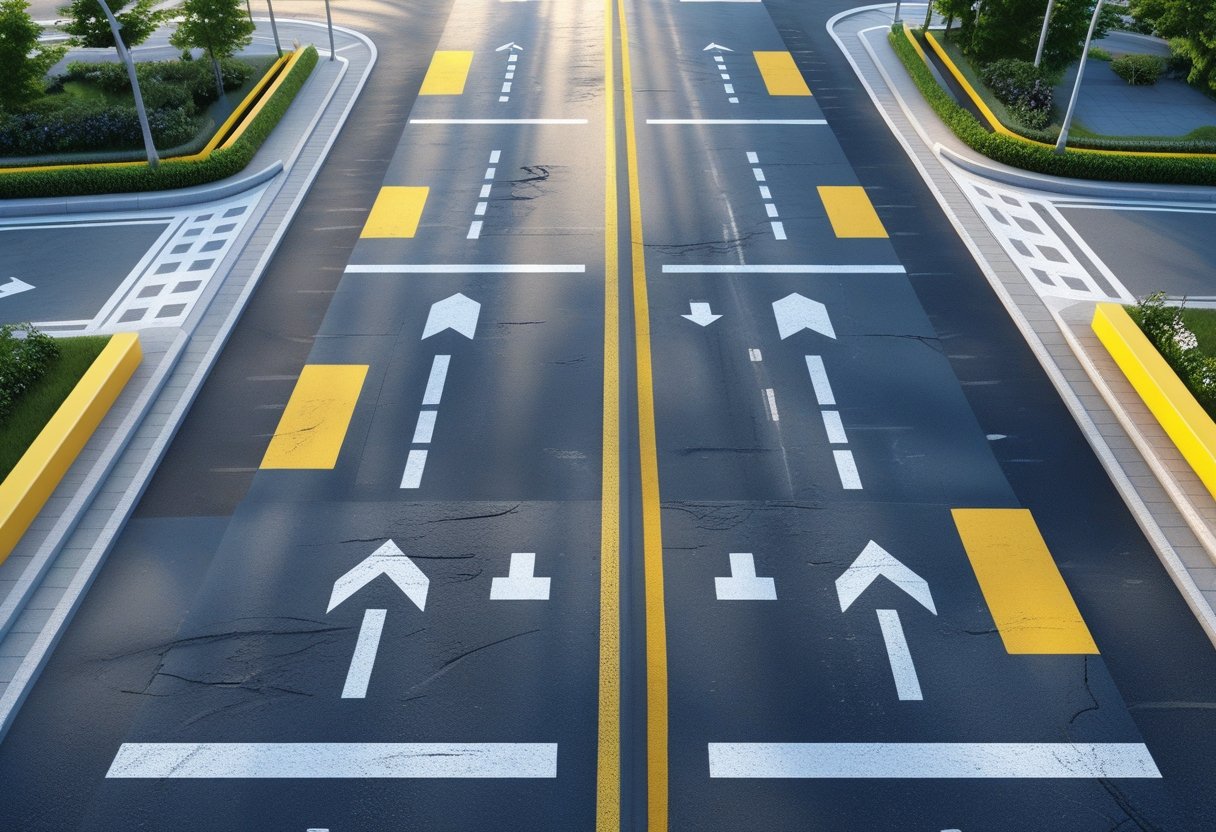
Short, broken white lines on wide roads are lane dividers. These split carriageways into separate lanes, and you should keep between them to maintain proper lane discipline.
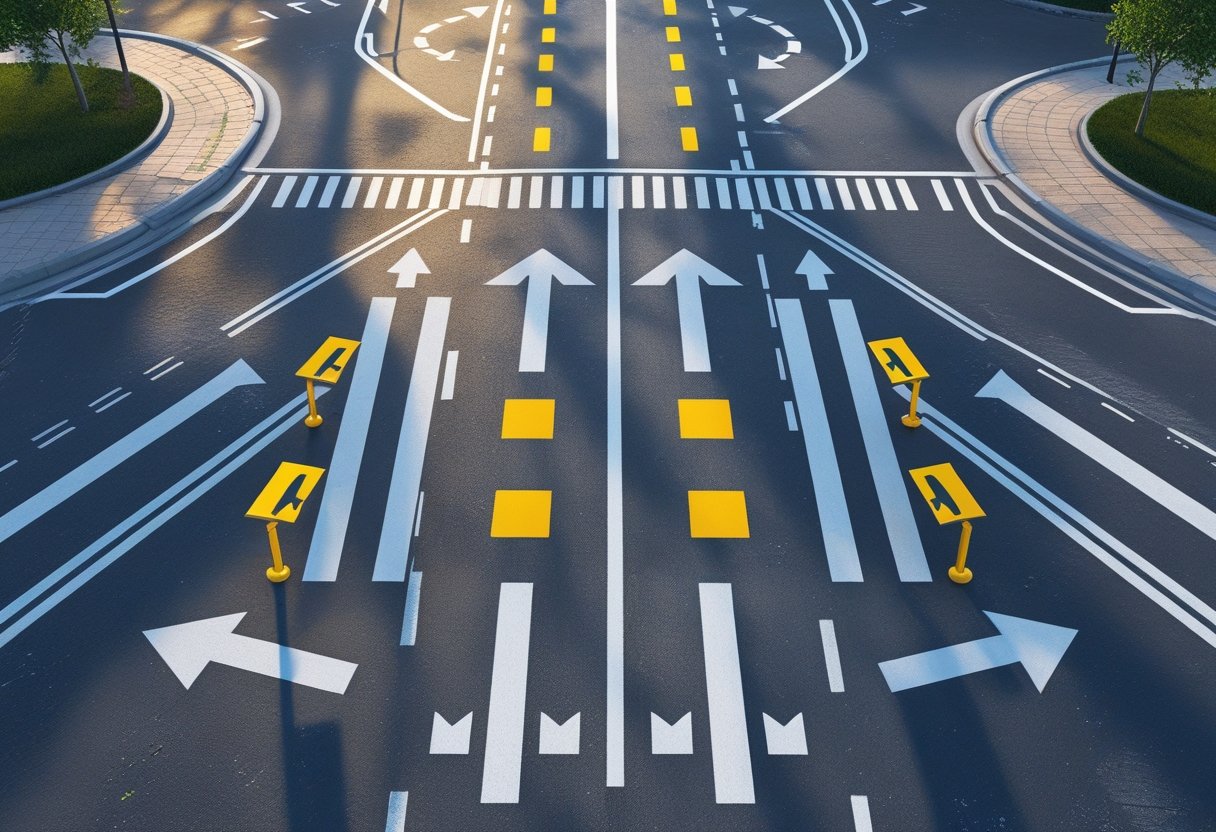
Interpreting Directional Arrows on the Road
White arrows painted on the road surface give you clear instructions about where you need to position your vehicle.
These arrows typically appear when you’ve been on the wrong side of the road after overtaking. They’re telling you it’s time to get back onto your side safely.
You’ll also see directional arrows approaching junctions and roundabouts. These arrows show which lane leads to which direction, helping you get into the correct position well before you need to turn.
Some arrows indicate mandatory lane usage. For example, a left-turn arrow means that lane is only for turning left. Following these arrows prevents last-minute lane changes that can cause accidents.
Arrow markings become especially important on slip roads and motorway entries. Green reflective studs often accompany these arrows to mark the edge of the main carriageway at these locations.
Pay attention to arrow spacing and frequency. More frequent arrows usually indicate you need to take action soon, whether that’s changing lanes or preparing for a junction.
Understanding White Diagonal Stripes and Chevrons
White diagonal stripes, also called chevrons, create protected areas on the road that separate traffic lanes or protect vehicles turning right.
The key difference lies in the border lines around these markings. If chevrons have broken white line borders, you should avoid entering the area unless it’s necessary and safe to do so.
If chevrons have solid white line borders, you must not enter except in an emergency. These areas are strictly off-limits during normal driving.
Chevrons often appear at busy junctions where traffic merges or separates. They give turning vehicles a safe space without blocking through traffic.
You’ll commonly see these markings where two lanes reduce to one. The chevron area helps traffic merge smoothly by preventing drivers from using every inch of available road space.
These diagonal stripes also appear near motorway exits and entrances. They help separate fast-moving motorway traffic from vehicles joining or leaving the carriageway.
The Rules of White Lines: Broken, Solid and Double
White lines act as your guide on every journey, telling you when it’s safe to overtake and when you must stay put. These markings control traffic flow and protect everyone by clearly showing what’s allowed at different points along the road.
Broken White Line Usage and Warnings
A broken white line marks the centre line of most roads you’ll encounter. We can cross this line when it’s safe to overtake or turn into a side road.
The clever bit comes when the line changes. When those white dashes get longer and the gaps between them shrink, that’s your warning signal. This means there’s a hazard ahead that you can’t see yet.
Never ignore this warning. The Highway Code makes it clear that longer dashes mean danger is coming. You might be approaching:
- A sharp bend
- The top of a hill
- A junction
- Another hazard
Before crossing any broken white line, make sure you can see the road is completely clear. Check your mirrors, signal early, and only move if you’re certain you can complete your manoeuvre safely.
The golden rule is simple: if you’re not 100% sure it’s safe, don’t cross.
Interpreting Double White Lines
Double white lines create two different scenarios, and which line is closest to you makes all the difference. These markings control overtaking in areas where visibility might be limited.
When the broken line is nearest to you: You may cross to overtake if it’s completely safe. However, you must finish your overtaking before you reach a solid white line on your side. White direction arrows on the road will guide you back to your correct lane.
When the solid line is nearest to you: You cannot cross or straddle these lines for overtaking. This is a firm rule that keeps everyone safe.
There are specific exceptions when you can cross solid double white lines:
- Entering premises or a side road
- Passing a stationary vehicle (if safe)
- Overtaking a pedal cycle, horse, or road maintenance vehicle travelling at 10 mph or less
Always check the road is clear before making any of these permitted crossings. These exceptions exist for practical reasons, but safety remains your top priority.
Solid White Lines and Their Restrictions
Solid white lines create the strictest rules on our roads. When you see a single solid white line down the centre, overtaking is prohibited.
These lines appear where overtaking would be particularly dangerous. You’ll find them on approaches to junctions, sharp bends, or areas with limited visibility.
The restrictions are there to protect you and other road users. Even if the road looks clear, that solid line means conditions ahead could change quickly.
Permitted crossings include:
- Turning into a side road or premises
- Passing a stationary vehicle blocking your lane
- Overtaking cyclists, horses, or road maintenance vehicles moving at 10 mph or slower
Each exception requires you to ensure the road is completely clear first. Take your time, check thoroughly, and only proceed when you’re absolutely certain it’s safe.
Remember that these white lines work together with other road markings to create a complete picture. They’re your constant companions on every drive, helping you make smart decisions and stay safe.
Reading Yellow Boxes and Special Road Markings
Yellow boxes keep traffic flowing at busy junctions, whilst white bay markings and school keep clear zones protect specific areas from unwanted parking or stopping.
Rules for Yellow Box Junctions
Yellow box junctions use bright criss-cross hatching to prevent cars from blocking important road crossings. We see these markings at busy intersections where traffic often gets stuck.
The golden rule is simple: never stop inside a yellow box. You can only enter if your exit road is completely clear and you can drive straight through without stopping.
There’s one important exception for right turns. If you’re turning right and your exit road is clear, you can wait inside the box for oncoming traffic to pass. Just make sure there’s definitely space in your destination road before you enter.
Here’s what we need to check:
- Going straight or left: Exit road must be completely clear
- Turning right: Exit road clear, but you can wait for oncoming traffic
- Traffic lights: You can complete your turn even if lights change whilst you’re inside
Getting caught stopping in a yellow box can cost you between £70 and £130 depending on your location. London councils tend to charge the higher amounts.
We often see yellow boxes outside fire stations and ambulance stations too. These keep emergency vehicle exits clear at all times.
Understanding School Keep Clear Zones
School keep clear markings protect children by keeping school entrances and crossing points free from parked cars. These zones use white zigzag lines with “SCHOOL KEEP CLEAR” text painted on the road surface.
Never stop, park, or wait in these areas during the times shown on nearby signs. Most school keep clear zones operate during school hours, typically 8am to 5pm on weekdays.
The zigzag lines create a clear sight line so children can see traffic and drivers can spot children crossing. Even a quick stop to drop off or collect your child breaks the rules and puts everyone at risk.
Parking restrictions usually apply to both sides of the road near school gates. Some areas use cameras to catch drivers who ignore the markings, whilst others rely on traffic wardens or police enforcement.
Breaking school keep clear rules typically results in a £70 penalty charge notice. More importantly, stopping here creates genuine danger for children walking to and from school.
White Bay Markings and Loading Bays
White bay markings show designated parking or loading areas along the roadside. These rectangular painted boxes clearly mark where specific types of vehicles can stop during certain hours.
Loading bays use thick white lines with “LOADING ONLY” text. These spaces are reserved for delivery vehicles and commercial loading during business hours. Private cars cannot use loading bays, even for quick stops.
Parking bays have thinner white lines and may include time limits or payment information. Some bays are free for short stays, whilst others require payment through parking meters or mobile apps.
Bus stops combine white bay markings with red route markings or bus lane indicators. We must never stop in bus bays, as this blocks public transport and creates traffic problems.
The edge lines of these bays connect to the main carriageway markings, creating clear boundaries between traffic lanes and parking areas. Yellow lines often run alongside white bays to show additional parking restrictions.
Always check the signs near white bay markings for specific rules about times, duration limits, and which vehicles can use each space.
Stop, Give Way and Priority Lines
These white road markings act as your traffic controllers, telling you exactly when to halt and when you must yield to other vehicles. Stop lines appear as thick white bars across your lane, whilst give way lines use broken white patterns to indicate where you need to check for traffic before proceeding.
Stop Lines at Signals and Signs
Stop lines are those thick white lines painted right across the carriageway that we encounter at traffic lights and stop signs. When you see one of these solid white barriers, it’s your cue to bring your vehicle to a complete halt.
At traffic lights, the stop line marks exactly where you should stop when the lights turn amber or red. Never creep over this line, even if you’re itching to get moving.
At stop signs, the line works slightly differently. You must come to a complete stop, then look carefully in all directions before proceeding. The Highway Code is crystal clear about this: rolling stops simply won’t cut it.
Here’s what makes stop lines distinctive:
- Thickness: Much thicker than regular lane markings
- Position: Always placed before the junction or crossing point
- Colour: Bright white for maximum visibility
Give Way Lines and Their Variations
Give way lines use broken white markings to show where you need to yield priority to other traffic. These dashed lines appear in several forms, each with its own specific meaning.
Single broken white lines tell us to give way to traffic from one direction, usually from the right. You’ll spot these at side road junctions and T-junctions most commonly.
Double broken white lines mean we must give way to traffic from both directions. These appear where roads merge or at more complex junctions.
The brilliant thing about give way lines is that you don’t always need to stop completely. If the road is clear, you can keep moving. However, you must slow right down and be prepared to stop if needed.
Centre line markings often work alongside give way lines to guide you into the correct position as you approach the junction.
How Road Markings Work at Roundabouts
Roundabouts use give way lines in a special way that every driver needs to master. As you approach any roundabout, you’ll see single broken white lines marking where you must give way to traffic already on the roundabout.
The rule is simple but vital: traffic from your right has priority. Those chunky dashed lines at mini roundabouts are particularly thick to grab your attention.
At larger roundabouts, the give way lines are often paired with road signs and arrows that help direct you into the correct lane. These markings change from normal lane dividers to warning lines as you get closer to the roundabout entrance.
Remember, you don’t have to stop at these lines if the roundabout is clear. Just slow down, check right, and proceed when it’s safe.
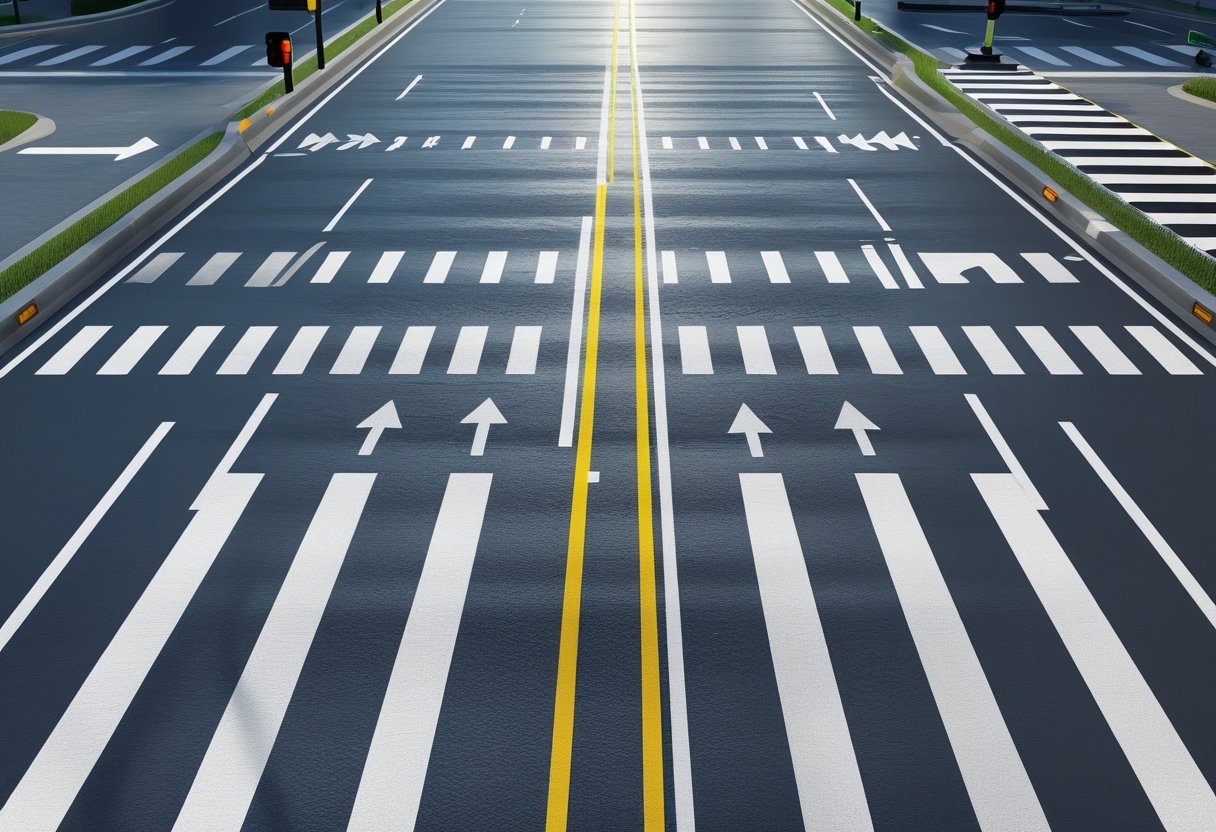
Edge Lines, Centre Lines and Traffic Discipline
Edge lines and centre lines work together to create a visual framework that keeps traffic flowing safely and smoothly. These white markings help us maintain proper positioning on the road whilst hazard warning lines alert us to upcoming dangers that might not be immediately obvious.
Role of Edge Lines in Lane Positioning
Edge lines are those crisp white lines running along the left-hand side of the carriageway, and they’re brilliant for helping us stay exactly where we need to be. Think of them as your faithful guide, especially when visibility gets tricky.
We’ll often find raised profile edge lines that create a gentle rumble when our tyres drift over them. This tactile feedback is incredibly helpful during foggy conditions or on unlit stretches of road where it’s harder to judge our position.
These markings become particularly valuable when the road width changes suddenly. Instead of second-guessing our lateral position, we can use the edge line as a reliable reference point to maintain safe distance from the kerb.
The Highway Code emphasises that edge lines mark the boundary of the carriageway. They’re especially common on rural roads and dual carriageways where maintaining proper lane discipline is crucial for everyone’s safety.
How Centre Lines Guide Safe Driving
Centre lines are probably the road markings we encounter most frequently, and for good reason. These broken white lines down the middle of the road separate opposing traffic flows and create order from what could otherwise be chaos.
The spacing and length of centre line segments actually vary depending on the speed limit. Higher speed roads typically have longer painted sections with shorter gaps, giving us more continuous guidance when we need it most.
Proper centre line discipline means staying well to the left of these markings during normal driving. We should only cross them when overtaking, and only when it’s completely safe to do so.
Centre lines also help us judge safe following distances. By keeping these markings visible in our peripheral vision, we maintain better spatial awareness of our position relative to oncoming traffic.
Hazard Warning Lines Explained
Hazard warning lines look similar to centre lines but with one crucial difference: the painted sections are longer than the unpainted gaps. This creates a more solid appearance that signals increased caution ahead.
We’ll encounter these markings when approaching junctions, central refuges, or other potential hazards that aren’t immediately obvious from our current position. They’re the road’s way of saying “pay extra attention here.”
Unlike regular centre lines, hazard warning lines serve both as guidance for lane positioning and as a symbolic warning system. The denser pattern of white paint naturally draws our attention and encourages us to reduce speed.
When we spot hazard warning lines, it’s wise to check our mirrors, ease off the accelerator slightly, and scan ahead more carefully. These markings have likely been placed there because other drivers have encountered unexpected situations in that exact location.
Mastering Parking Restrictions and Coloured Kerb Markings
Parking restrictions help keep traffic flowing smoothly and ensure emergency access. Understanding single yellow lines, double yellow lines, red lines, and bus lanes prevents costly penalties and keeps you on the right side of the law.
Single Yellow Lines and When You Can Park
Single yellow lines appear along road edges and tell us when parking isn’t allowed during specific times. The key is always checking nearby signs for the exact restrictions.
These yellow markings don’t ban parking completely. We can park there outside the restricted hours shown on nearby signs or entry signs to controlled parking zones.
What to look for:
- Signs showing days and times when restrictions apply
- If no days are shown, restrictions apply every day including Sundays and bank holidays
- White bay markings nearby might indicate permitted parking areas
Some single yellow lines have loading restrictions too. Single yellow kerb lines painted across the kerb show when loading and unloading is restricted during certain times.
We can always stop briefly to pick up or drop off passengers, even during restricted hours. This applies to both single yellow road markings and kerb markings.
Decoding Double Yellow Lines
Double yellow lines mean no waiting at any time. These road markings appear on busier roads where parking would cause serious traffic problems.
Unlike single yellow lines, double yellow lines have no time limits. We cannot park there during any part of the day or night.
Key exceptions:
- Brief stops to pick up or drop off passengers
- Loading where specifically permitted by signs
- Emergency situations
Double yellow kerb lines work differently from road markings. These appear across kerbs and mean no loading or unloading at all times. Loading bays and white bay markings nearby might offer alternatives for deliveries.
Some areas have seasonal restrictions shown on nearby signs. Always check local signage as it can override the standard rules.
Spotting Single and Double Red Lines
Red lines work similarly to yellow lines but with stricter enforcement. Single red lines restrict stopping during specified times, whilst double red lines mean no stopping at any time.
Red line areas often appear in city centres and busy areas where traffic flow is critical. The Highway Code treats these more seriously than yellow line restrictions.
Red line rules:
- Single red: No stopping during times shown on signs
- Double red: No stopping at any time
- Usually found on major routes and transport corridors
- Often monitored by cameras
Loading restrictions apply more strictly with red lines. We need to look for specific loading bays or designated areas rather than assuming brief loading is permitted.
Emergency services need these areas kept completely clear. The penalties for ignoring red line restrictions are typically higher than yellow line offences.
Navigating Bus Lanes and Priority Spaces
Bus lanes help public transport run on time and reduce congestion. These lanes have clear “BUS LANE” markings painted on the road surface with accompanying signs.
Most bus lanes allow other vehicles during certain hours. Signs show exactly when restrictions apply and which vehicles can use the lane.
Bus lane basics:
- Check signs for permitted vehicles (taxis, cycles, motorcycles often allowed)
- Entry permitted for loading where not specifically prohibited
- Times of operation clearly displayed on upright signs
- Some operate 24 hours, others only during peak times
Loading bays near bus lanes need extra attention. We can enter bus lanes to reach loading bays where loading isn’t prohibited, but we cannot stop in the lane itself.
White bay markings indicate designated parking areas. These rectangular markings with broken white lines show where we can park, with nearby signs showing time limits and any special conditions.
Bus stops have yellow rectangular markings with “BUS STOP” written inside. We must never park within these markings as they keep bus services running smoothly.
Frequently Asked Questions
Road markings can feel overwhelming at first, but understanding the colour coding system, navigation techniques for arrows and lane changes, and the specific rules around yellow box junctions will boost your confidence significantly.
What’s the secret to understanding the different coloured road lines and what they signify?
The colour of road markings tells you exactly what type of information you’re getting. White lines handle traffic flow and lane guidance, whilst yellow markings focus on parking restrictions and warnings.
White lines come in different styles for different purposes. Solid white lines mean you shouldn’t cross them, whilst broken white lines allow overtaking when it’s safe. The longer the white line segments, the more caution you should exercise.
Yellow lines are all about parking and waiting rules. Single yellow lines restrict parking during certain hours, whilst double yellow lines mean no parking at any time. Yellow zigzag lines near schools and pedestrian crossings create absolute no-stopping zones.
Red lines take parking restrictions even further than yellow ones. You’ll spot these in busy urban areas where traffic flow is critical.
How can I confidently navigate arrows on the road while changing lanes or preparing to turn?
Road arrows act like your personal navigation assistant painted right onto the tarmac. They show you exactly which direction each lane is heading before you reach the junction.
Start looking for arrows well before you need to turn or change lanes. This gives you plenty of time to position your vehicle correctly without rushing or making sudden movements.
When you see arrows pointing in multiple directions from one lane, you can choose any of those routes from that position. However, once you’ve committed to following an arrow’s direction, stick with your choice for safety.
Always check your mirrors and signal properly when moving between lanes, even when following arrow guidance. The arrows tell you where you can go, but they don’t replace your responsibility to change lanes safely.
Can you break down the ‘do’s and don’ts’ when approaching and driving in yellow box junctions?
Yellow box junctions keep traffic flowing smoothly through busy intersections. The golden rule is simple: only enter the box if your exit is completely clear.
You can enter a yellow box when turning right, even if you have to wait for oncoming traffic to clear. This exception prevents right-turning traffic from blocking the junction completely.
Never stop inside the yellow box markings, even if traffic lights change or traffic suddenly slows down. Plan ahead and wait before the box if there’s any doubt about getting through cleanly.
Watch for other vehicles already in the box junction. Give them space to complete their manoeuvres before you enter, regardless of what the traffic lights are showing.
What are some key pointers for correctly interpreting directional arrows at complex junctions?
Complex junctions often feature multiple arrow markings that work together to guide different traffic movements. Take your time to read the complete picture before committing to a lane.
Look for advance warning signs that work alongside the road arrows. These signs often provide additional context about destinations or route numbers that the arrows alone can’t communicate.
Some arrows appear in series, showing you a path through multiple lane changes. Follow these step by step rather than trying to cut across several lanes at once.
When arrows conflict with your intended route, don’t panic. There’s usually an alternative path through the junction, or you might need to continue straight and find a safe place to turn around.
Could you shed some light on lane dividers and when it’s appropriate to cross them?
Lane dividers use different line patterns to communicate different rules about crossing between lanes. Short broken white lines mark regular lanes where you can change lanes when safe.
Longer broken lines with bigger gaps suggest more caution is needed. These often appear approaching junctions or where road conditions change significantly.
Solid white lines mean you shouldn’t cross except in emergencies. You’ll see these where lane changing would be particularly dangerous, such as approaching sharp bends or hill crests.
Double white lines create the strictest separation. You can only cross these if the line nearest to you is broken, and even then, only when absolutely necessary.
What guidance can you offer for dealing with ambiguous road markings that aren’t immediately clear?
Sometimes road markings can appear confusing due to wear, weather conditions, or recent road works. When in doubt, choose the most cautious interpretation of what you see.
Look for context clues from other road features. Traffic signs, road layout, and the behaviour of other drivers can help clarify what unclear markings are trying to communicate.
Slow down when markings seem ambiguous. This gives you more time to process the information and react safely to whatever the situation requires.
Don’t be afraid to take a longer route if road markings are genuinely unclear or contradictory. Your safety is worth more than saving a few minutes on your journey.